Replace weight sensor
|
In this document you will find a description how to replace the weight sensor in the Smartb
|
You will need:
|
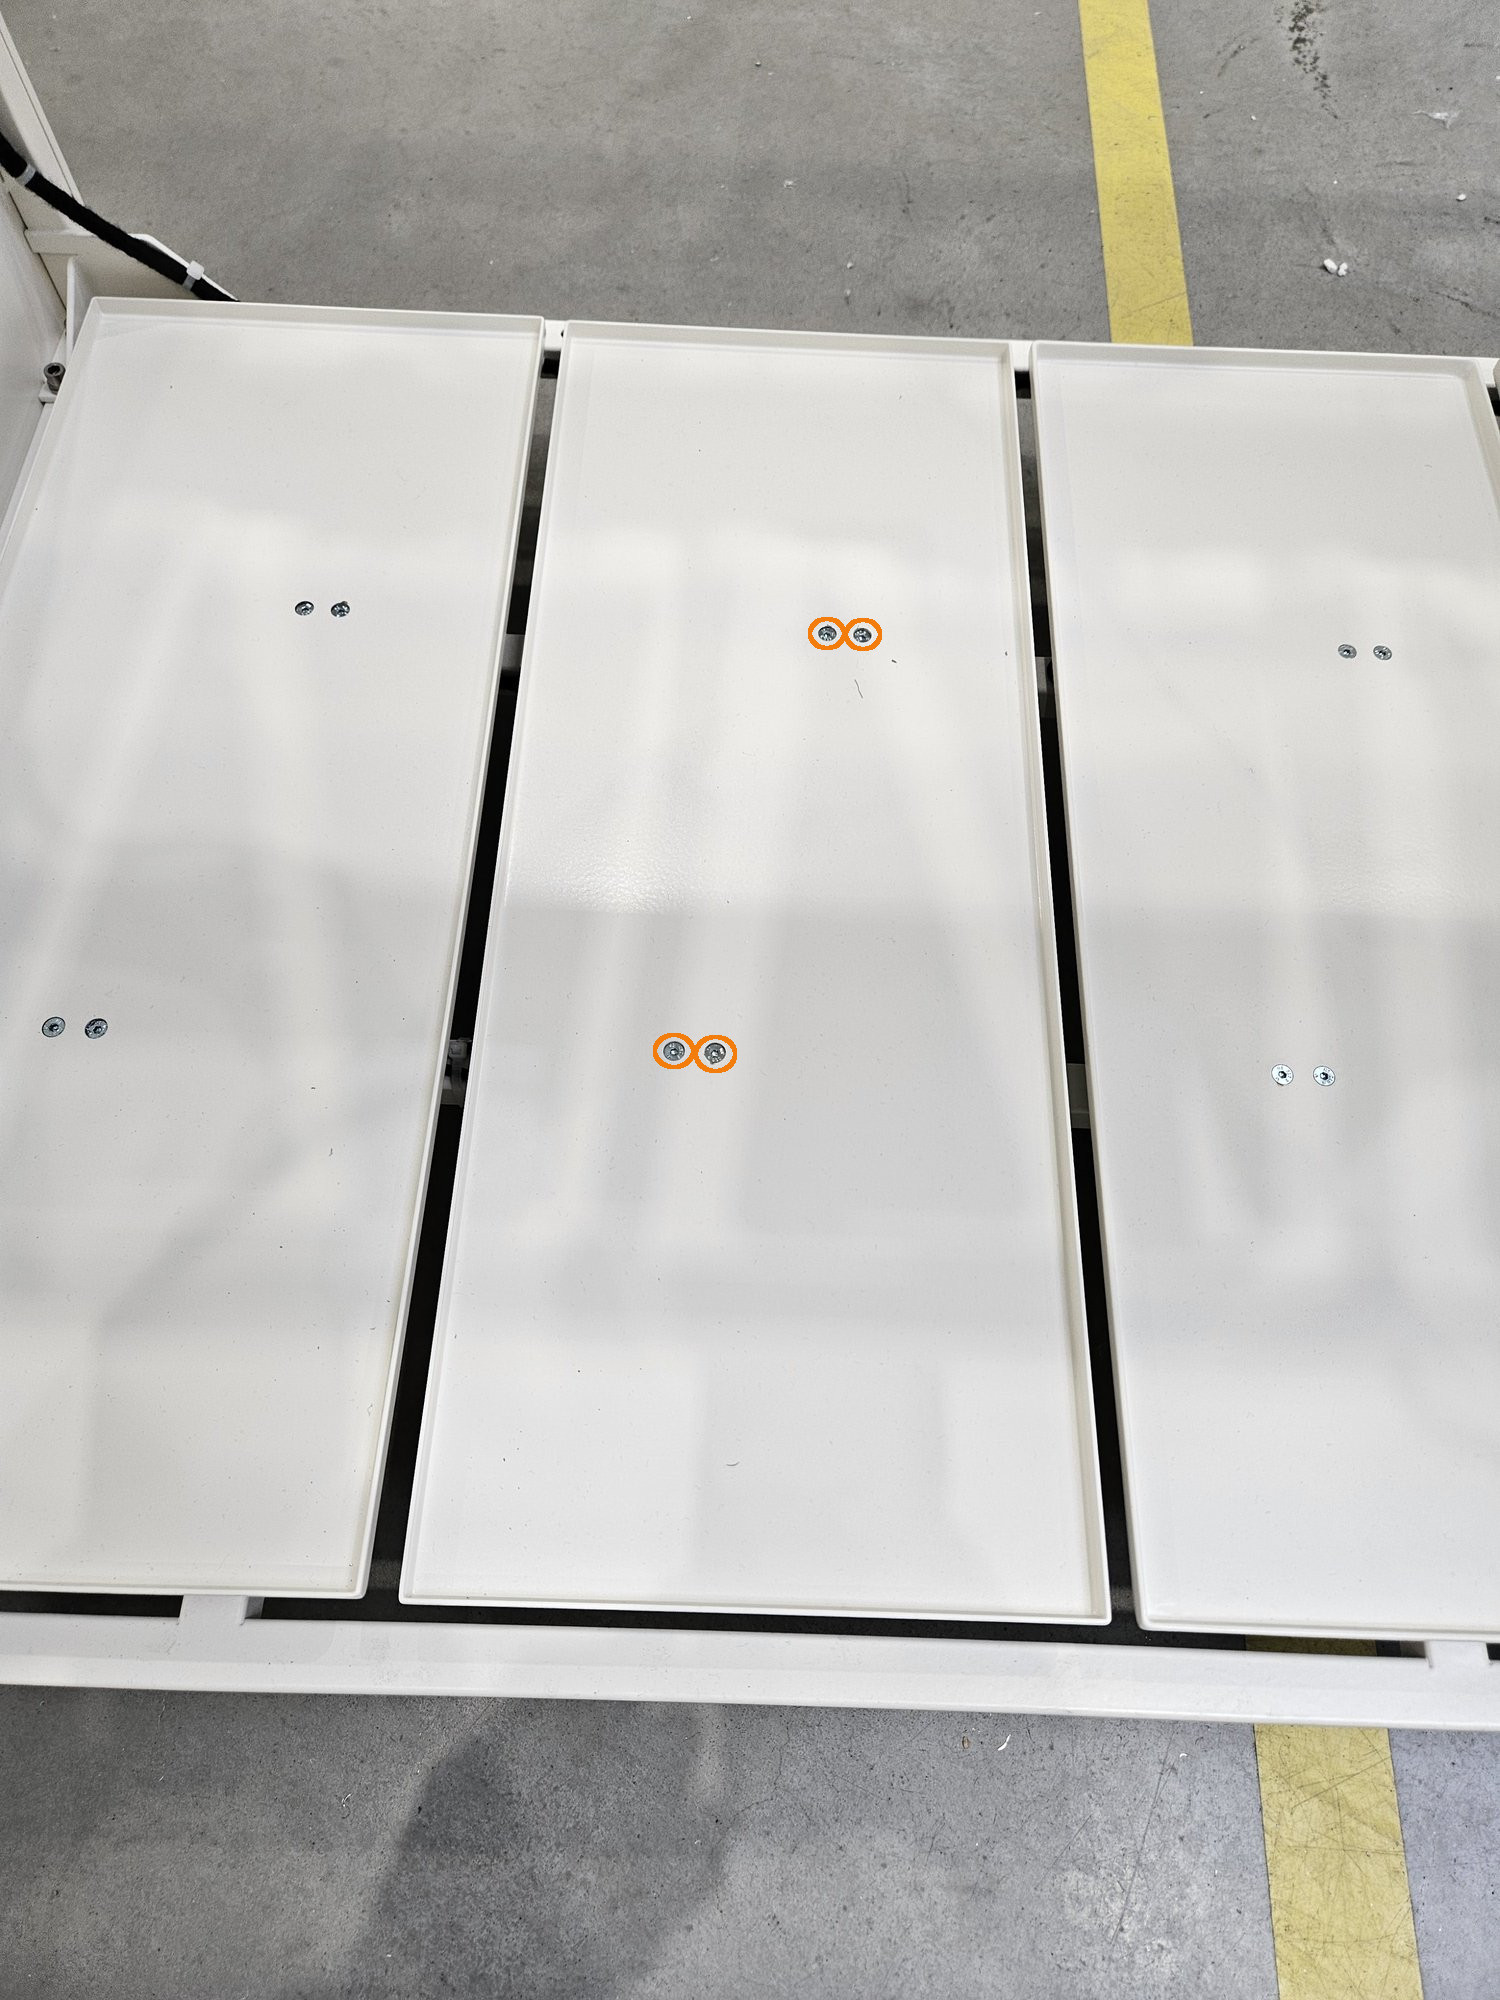
Step 1 Unscrew the top floor
|
 |
Step 2 Unplug the sensor
|
 |
Step 3 Remove zippers
 |
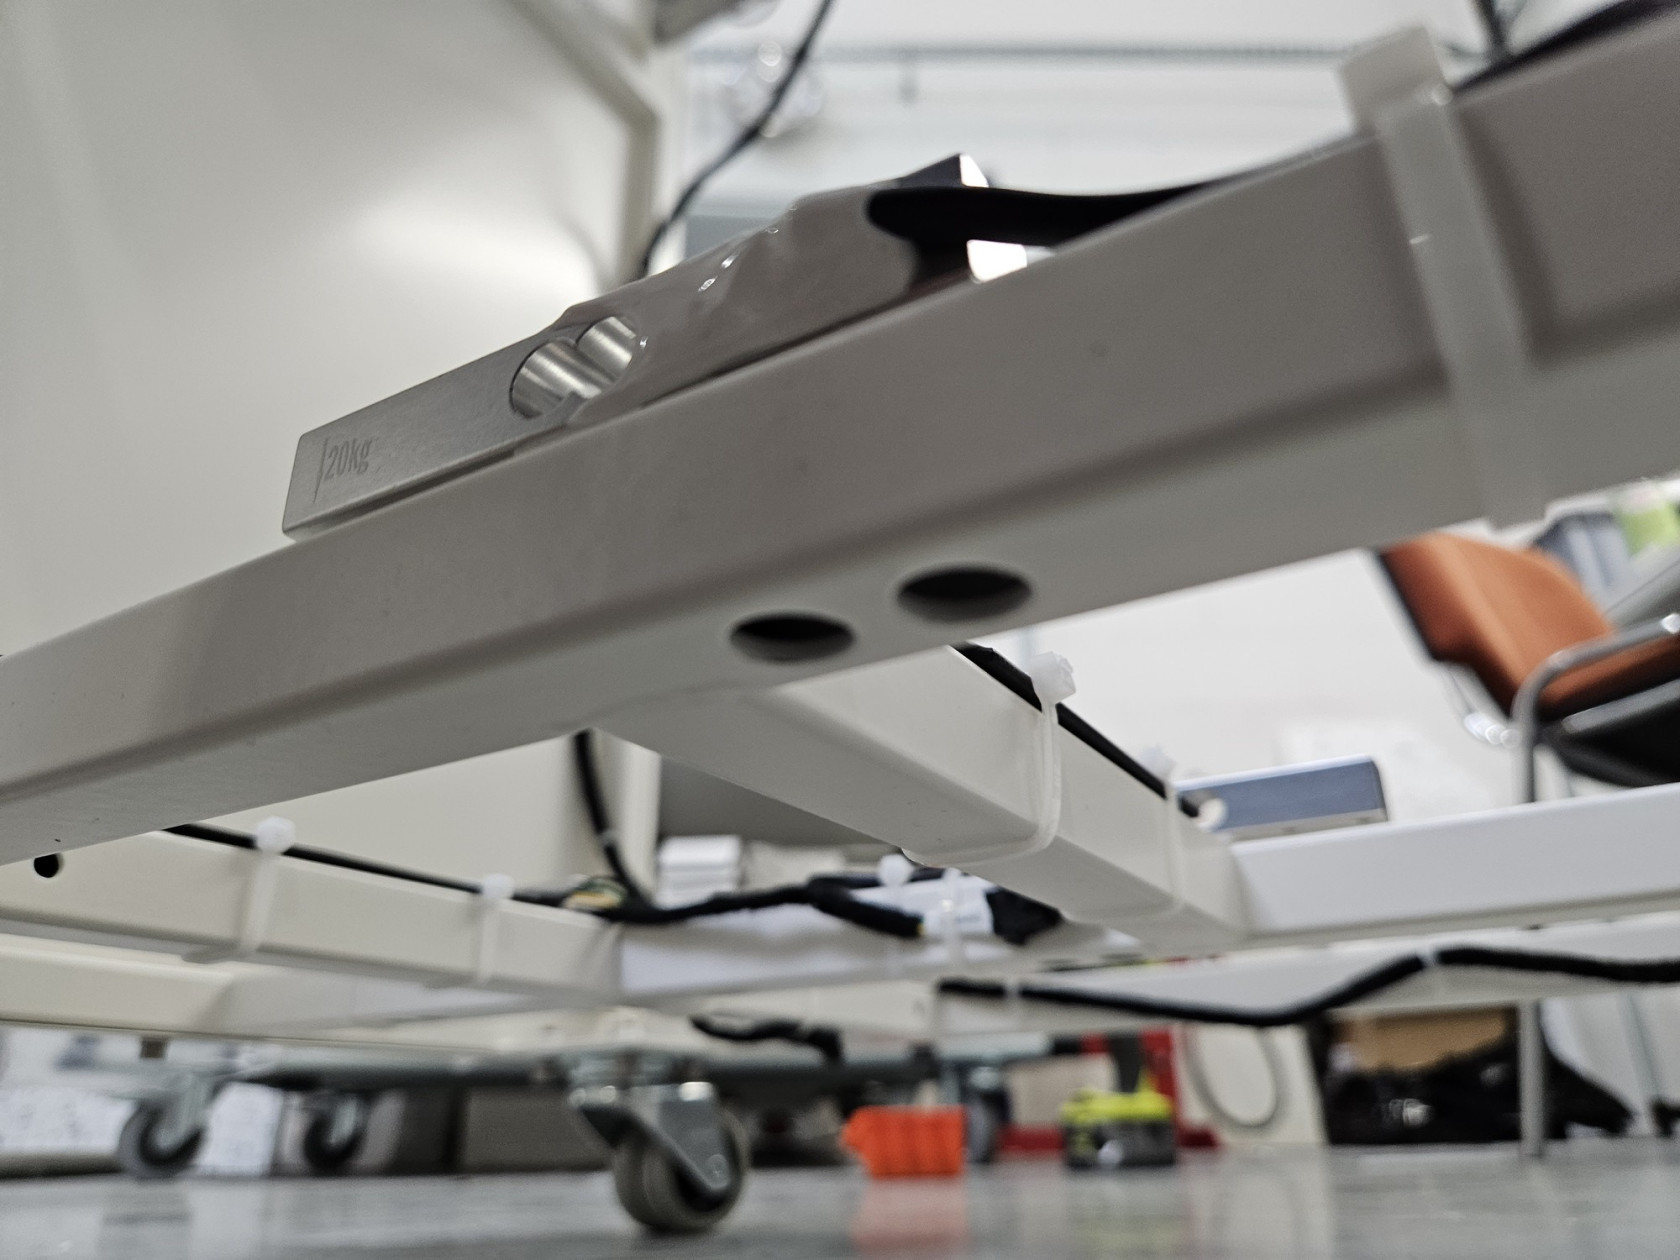
Step 4 Unscrew sensor form frame
|
|
|
|
|
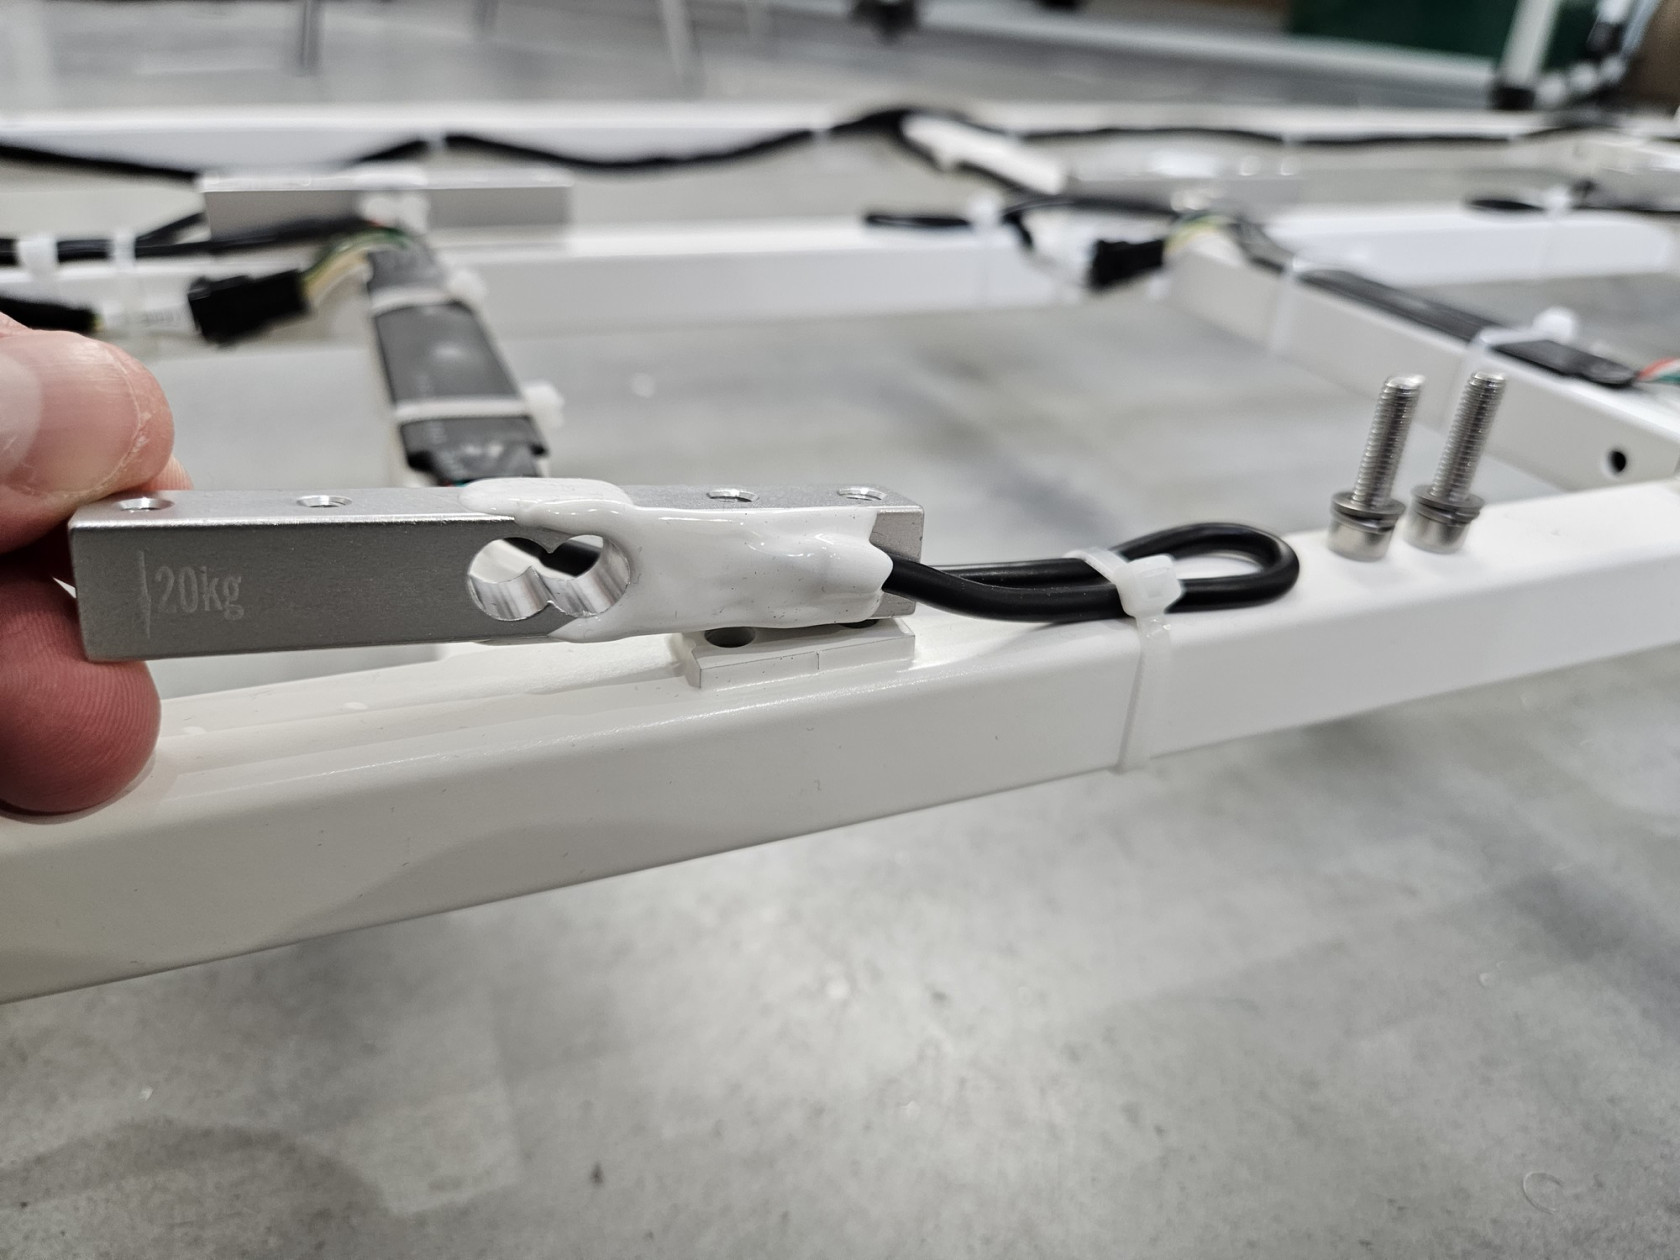
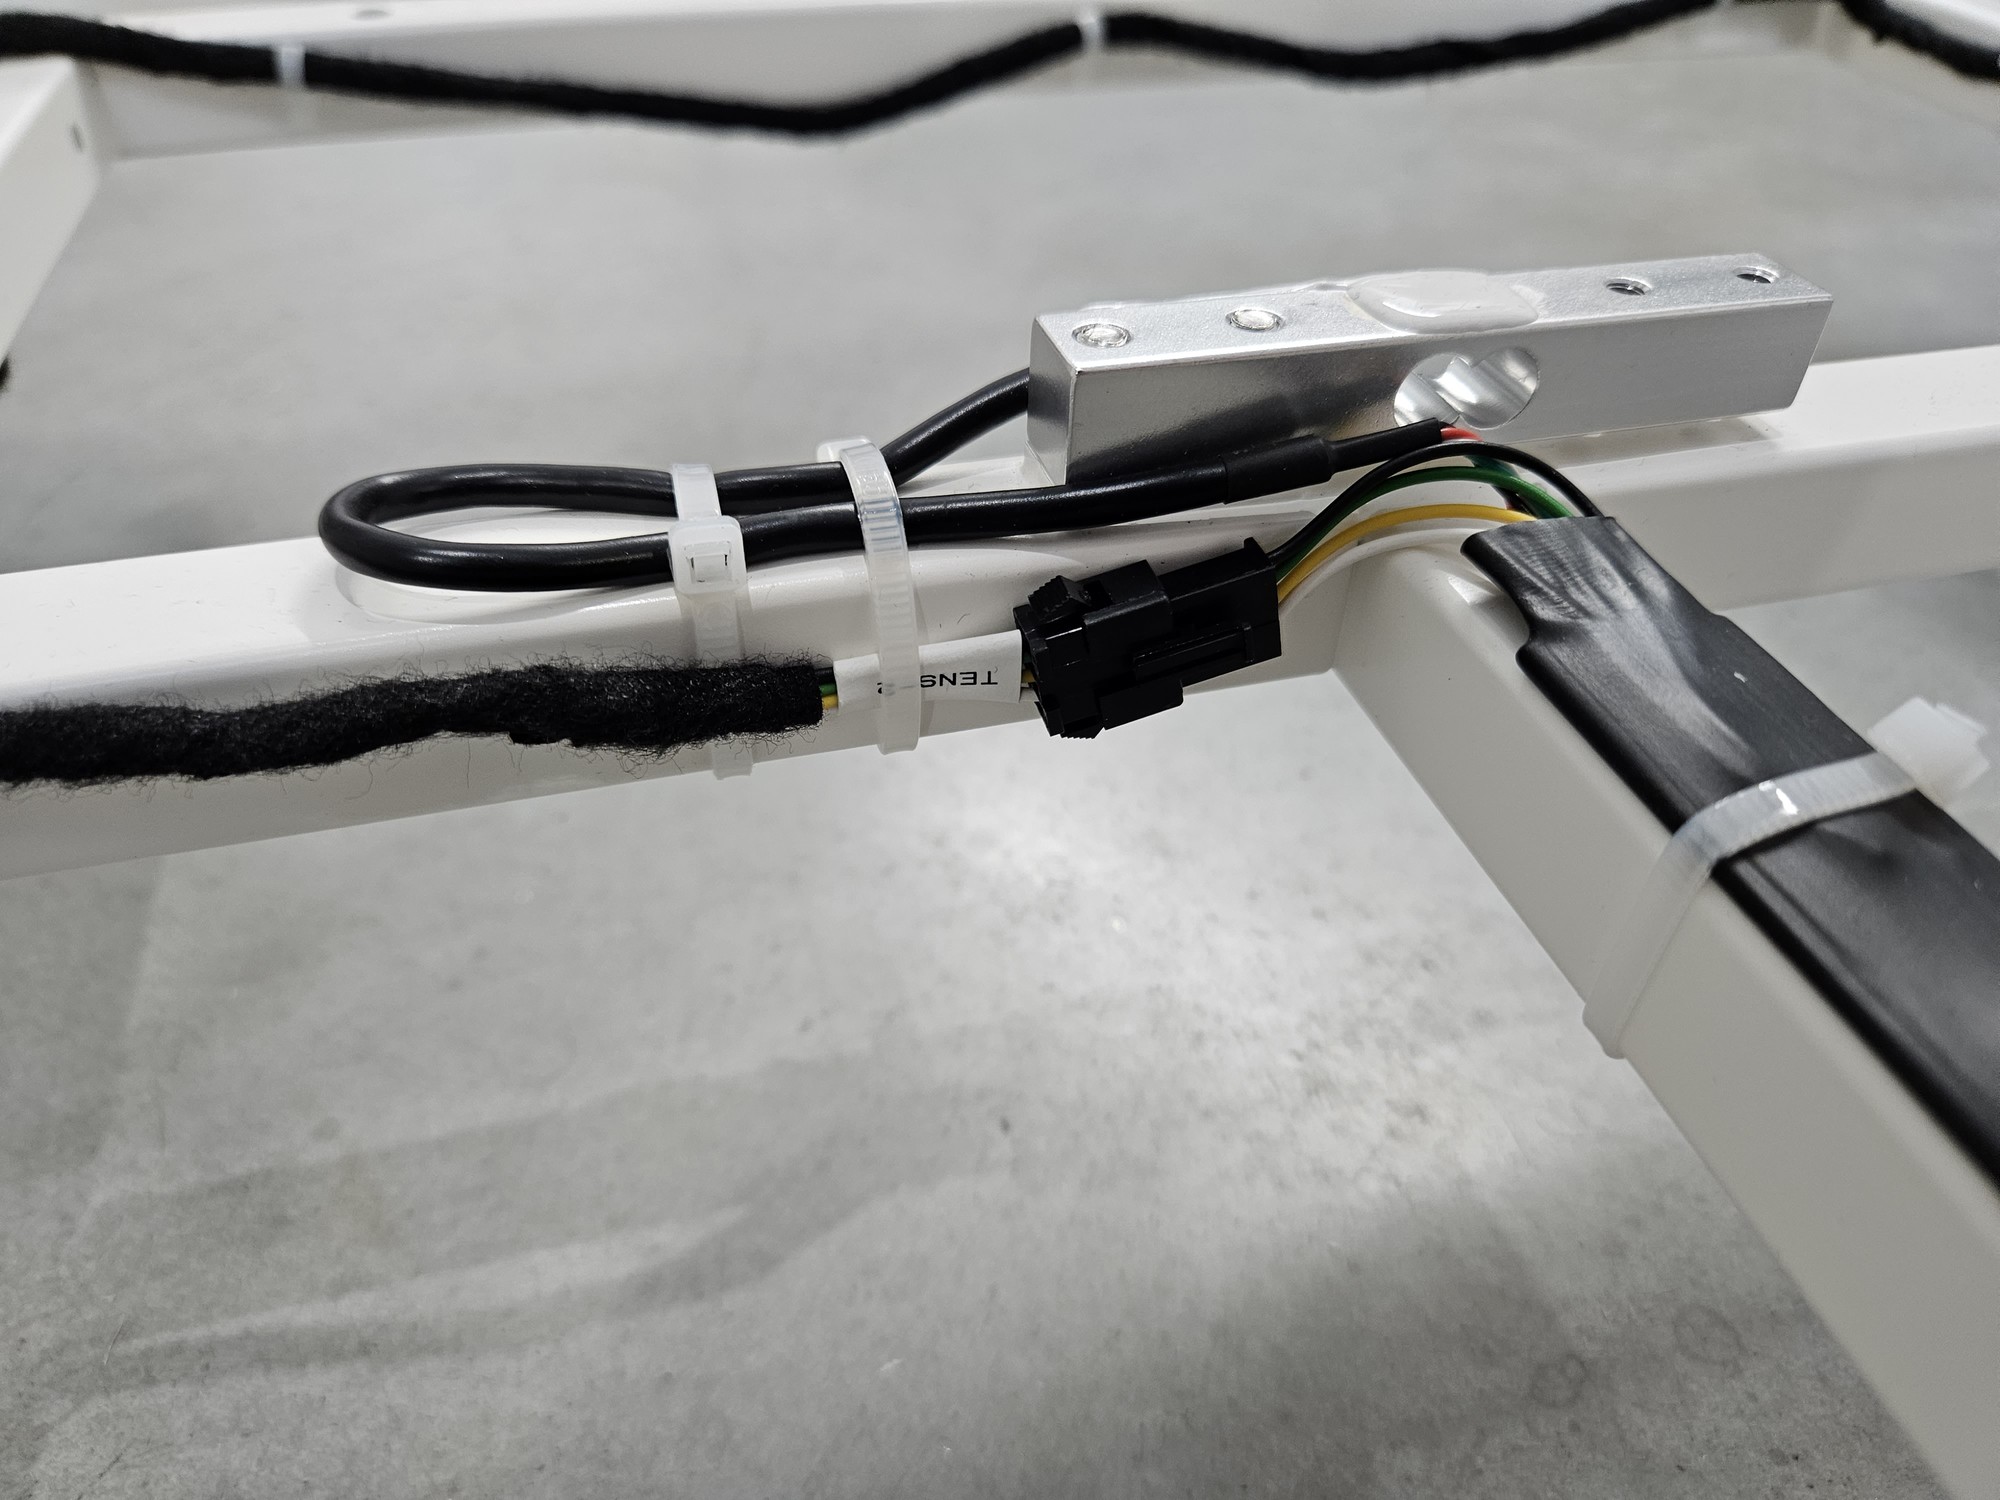
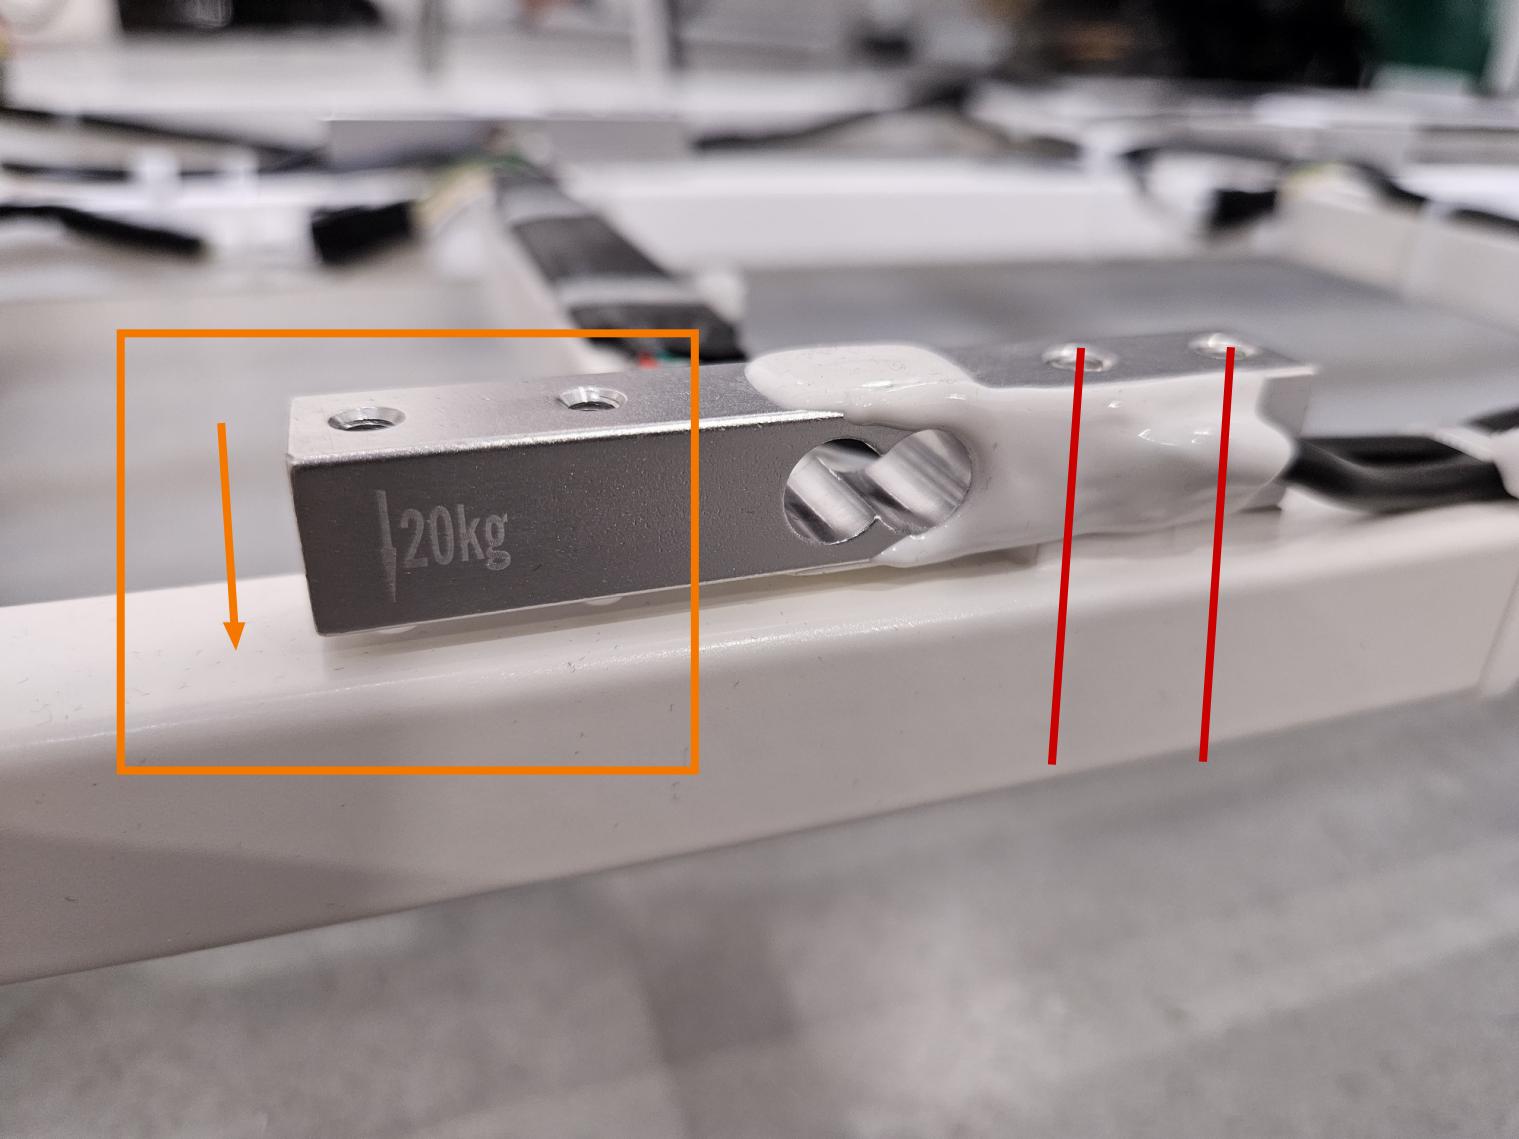
Step 5 załóżSet nowynew zestawsensor
ZwróćPay szczególnąspecial uwagęattention nato kierunek!the Belkadirection! maThe nabeam sobiehas narysowanąan strzałkę.arrow Tadrawn strzałkaon powinnait. wskazywaćThis warrow dółshould ipoint byćdown poand przeciwnejbe stronieon śrubthe montażowychopposite doside ramy!of the mounting screws to the frame! (patrzsee zdjęciephoto powyżej)below)ZOn przoduthe urządzeniafront strzałkaof powinnathe byćdevice, pothe lewejarrow stronieshould zbe tyłuon pothe prawej.left and on the back on the right.
|
 |
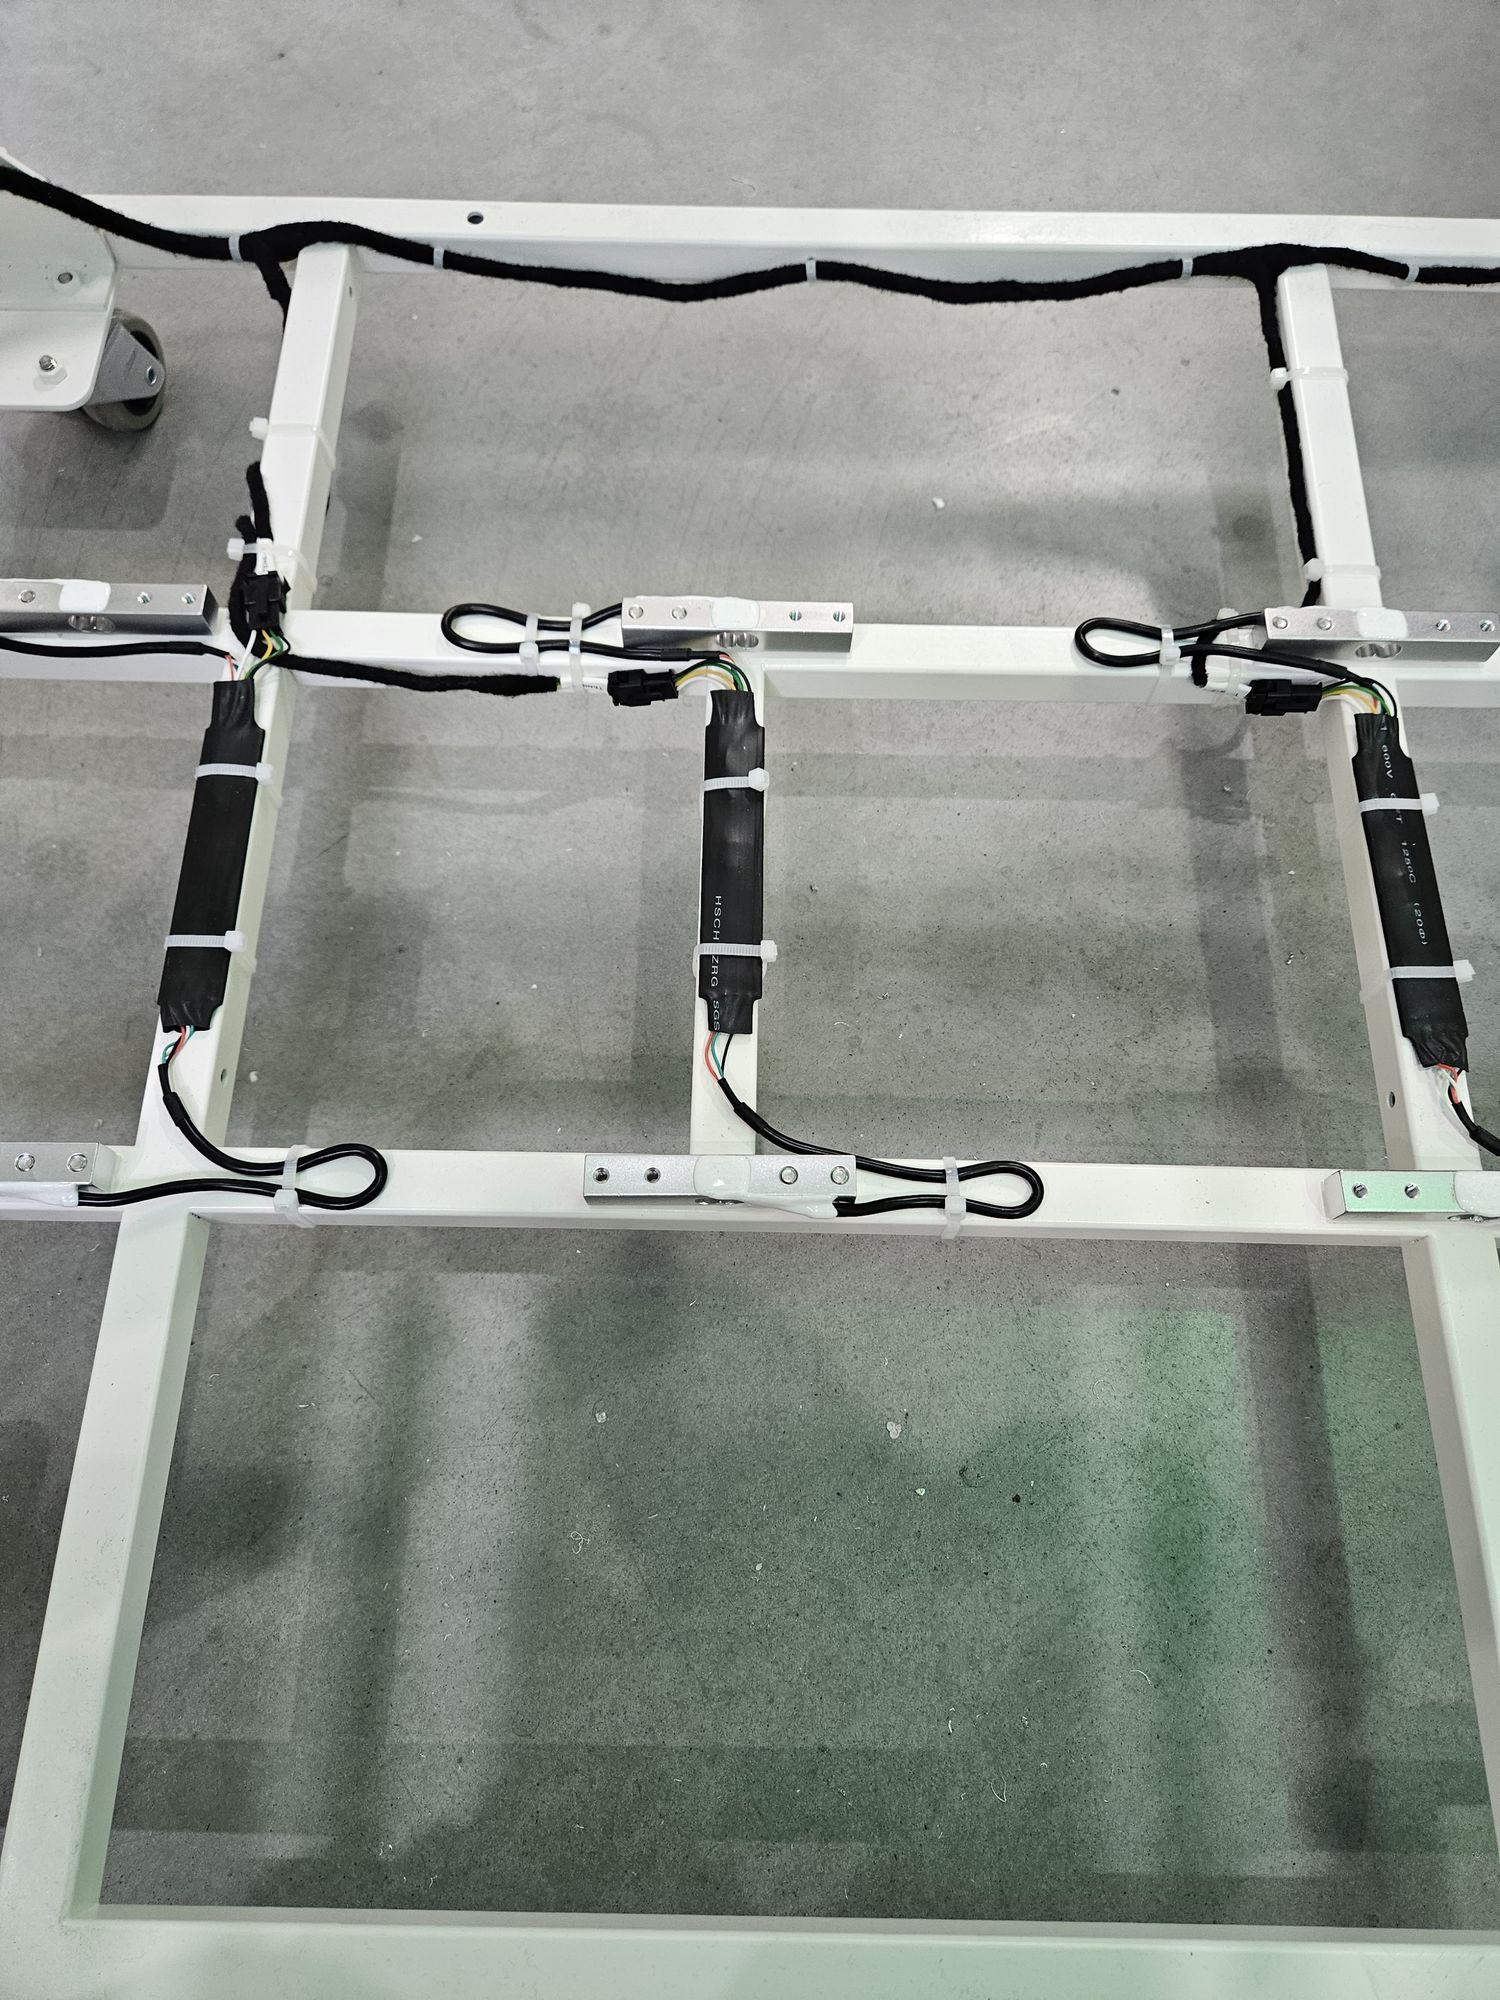
Step 6 zabezpieczSecure kablecable iand płytkęPCB with zippers
|
|
|
Step 7 podłączPlug nowynew przetworniksensor
|
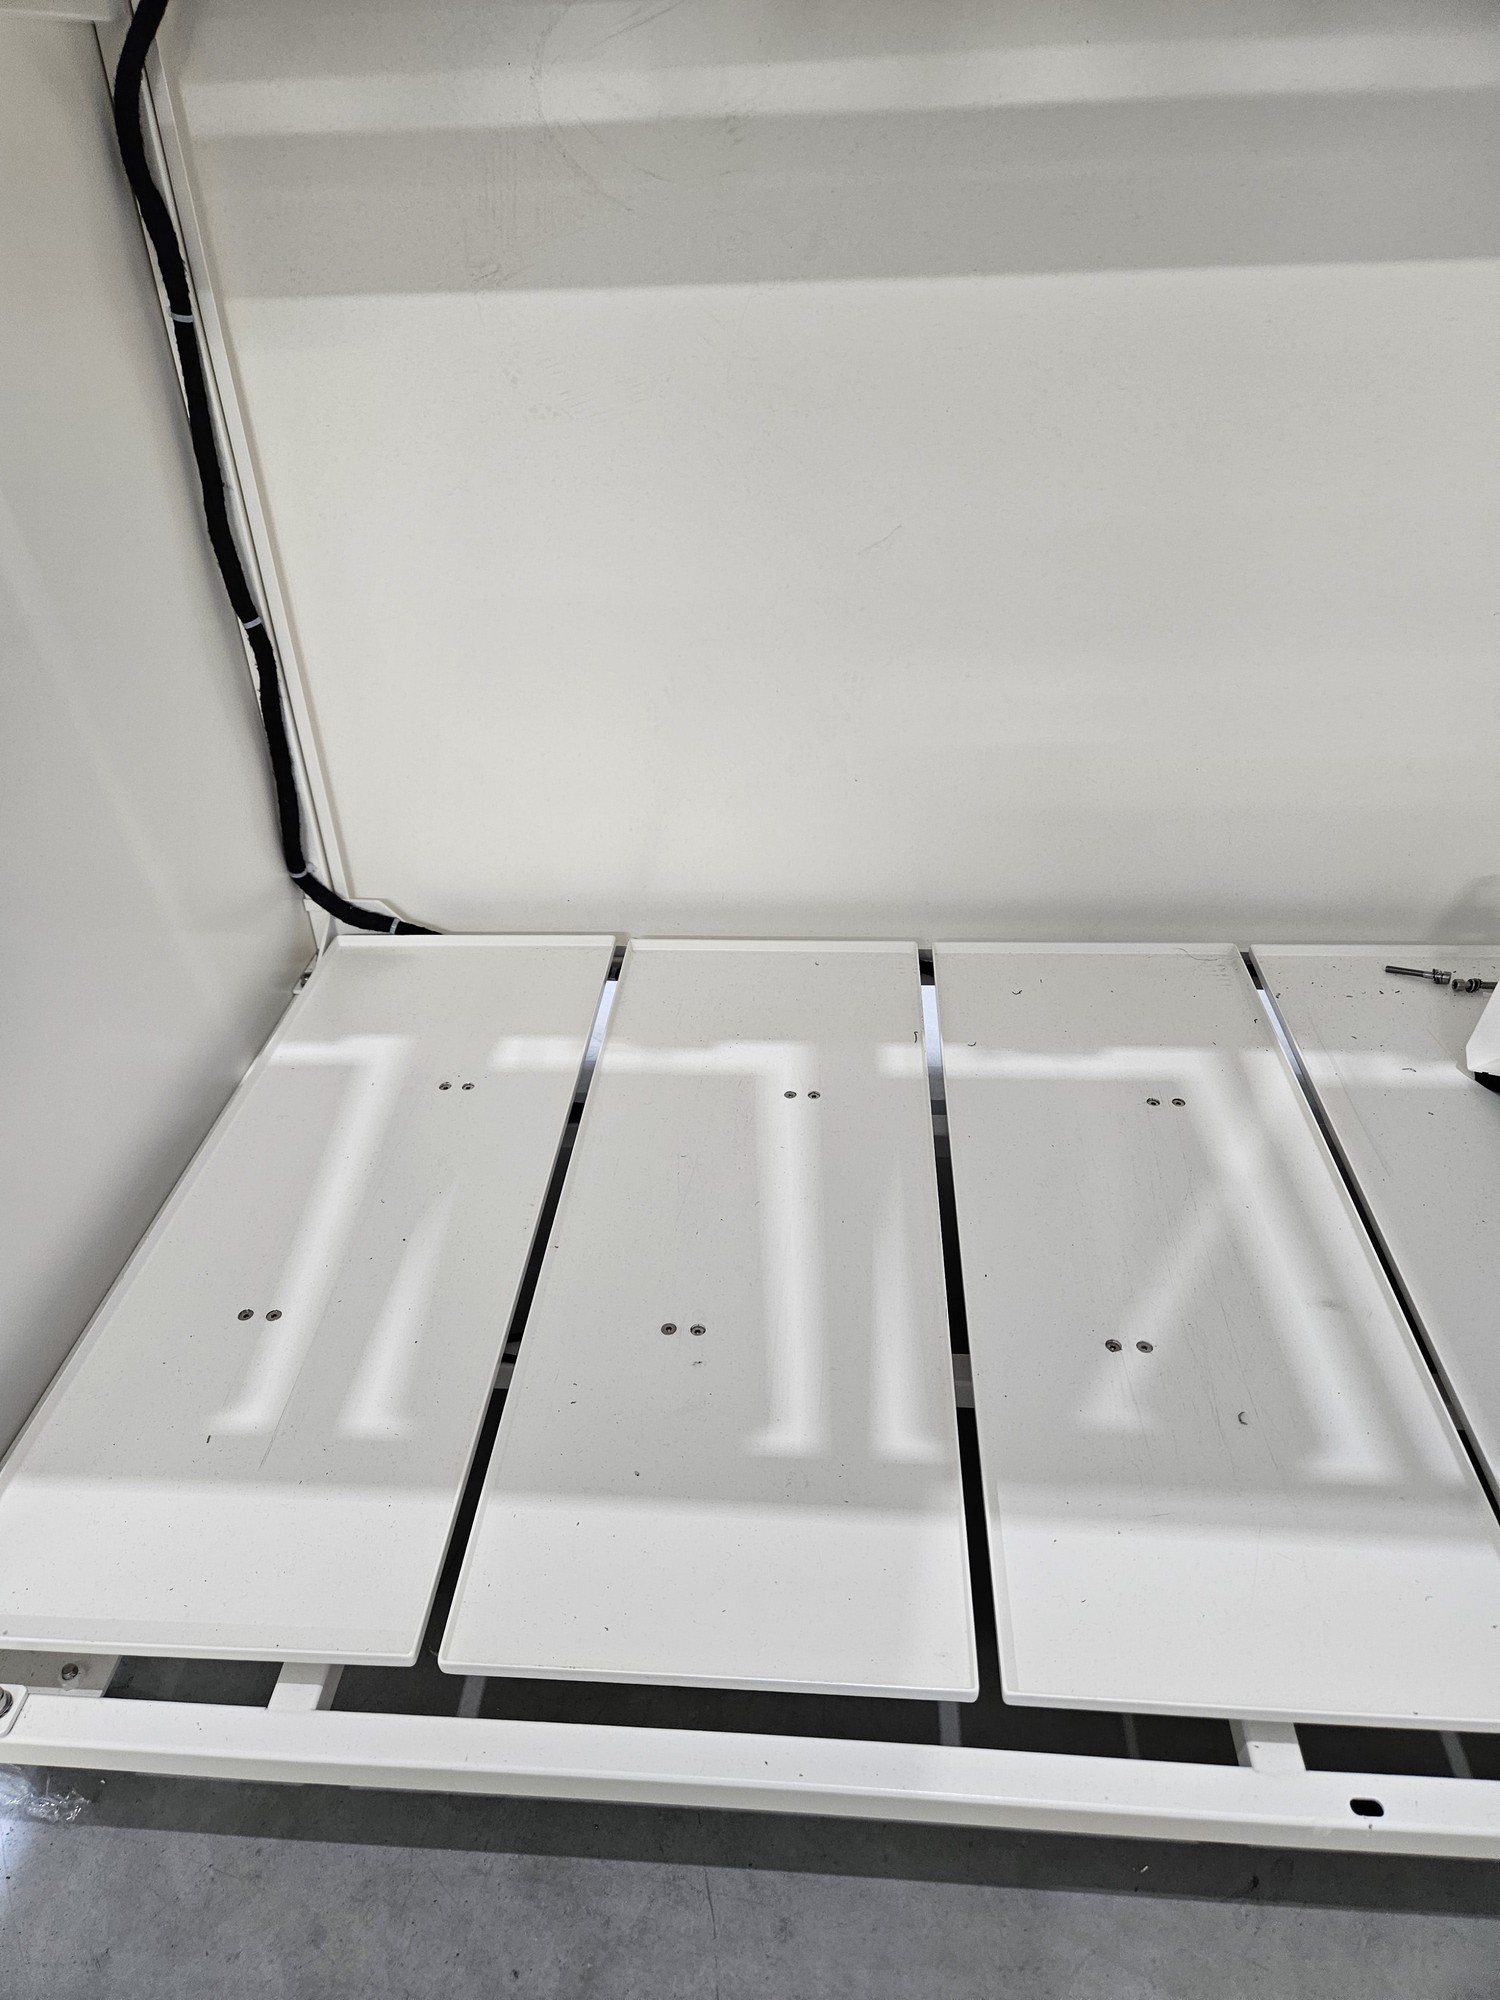
Step 8 przykręćScrew podłogęflor koszaagain
The floor is not symmetrical! Orient it similarly to the others!
 |
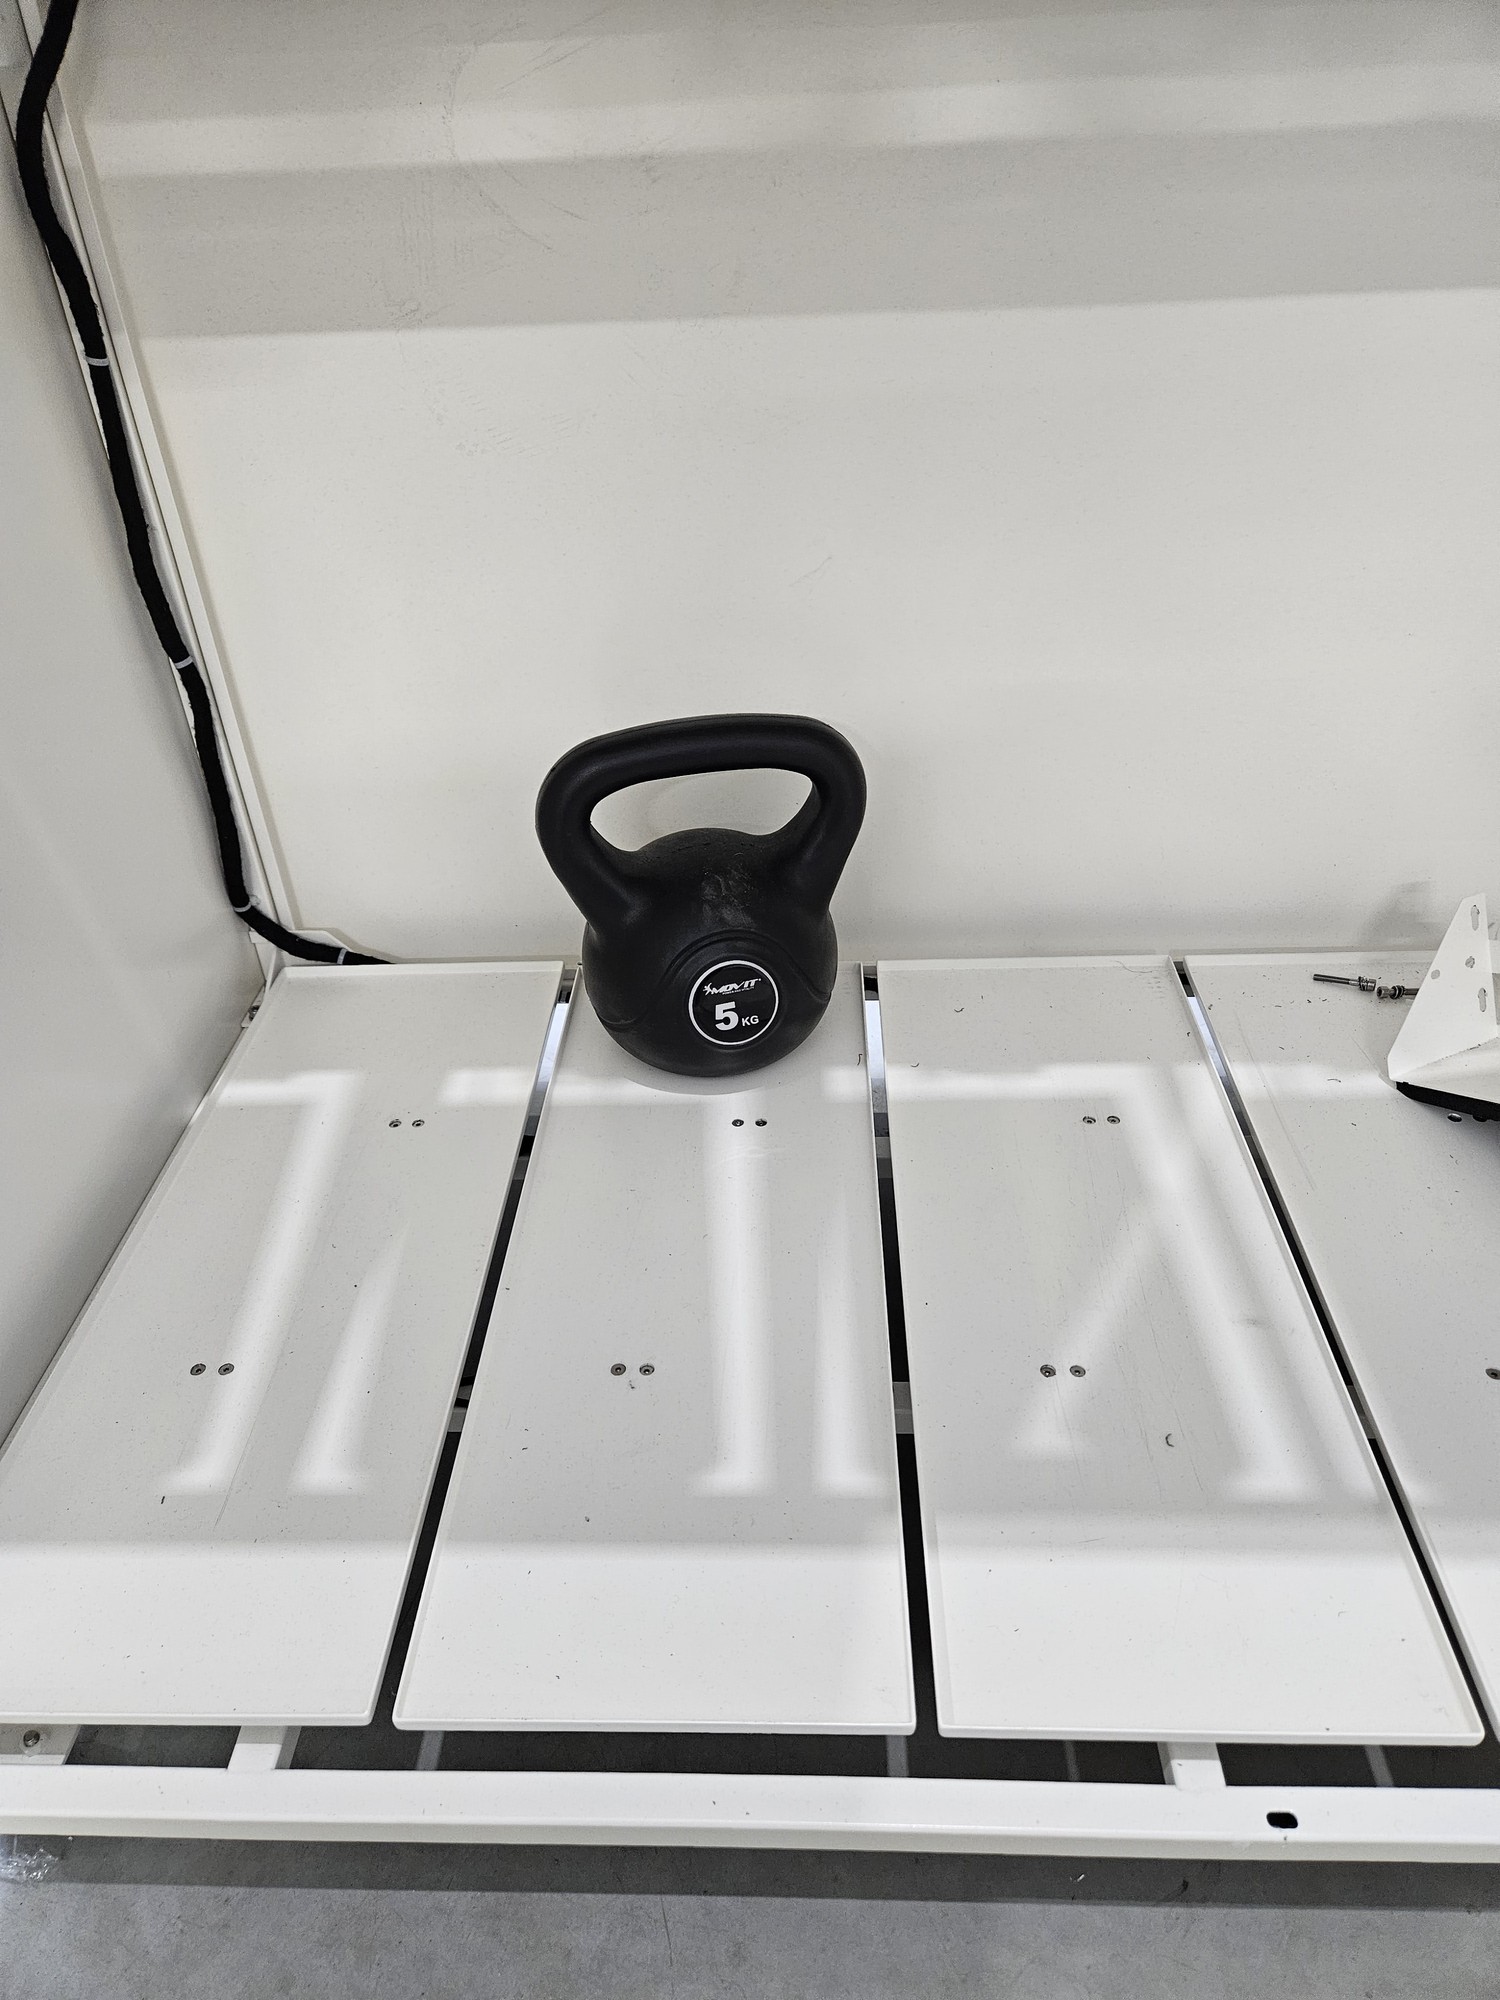
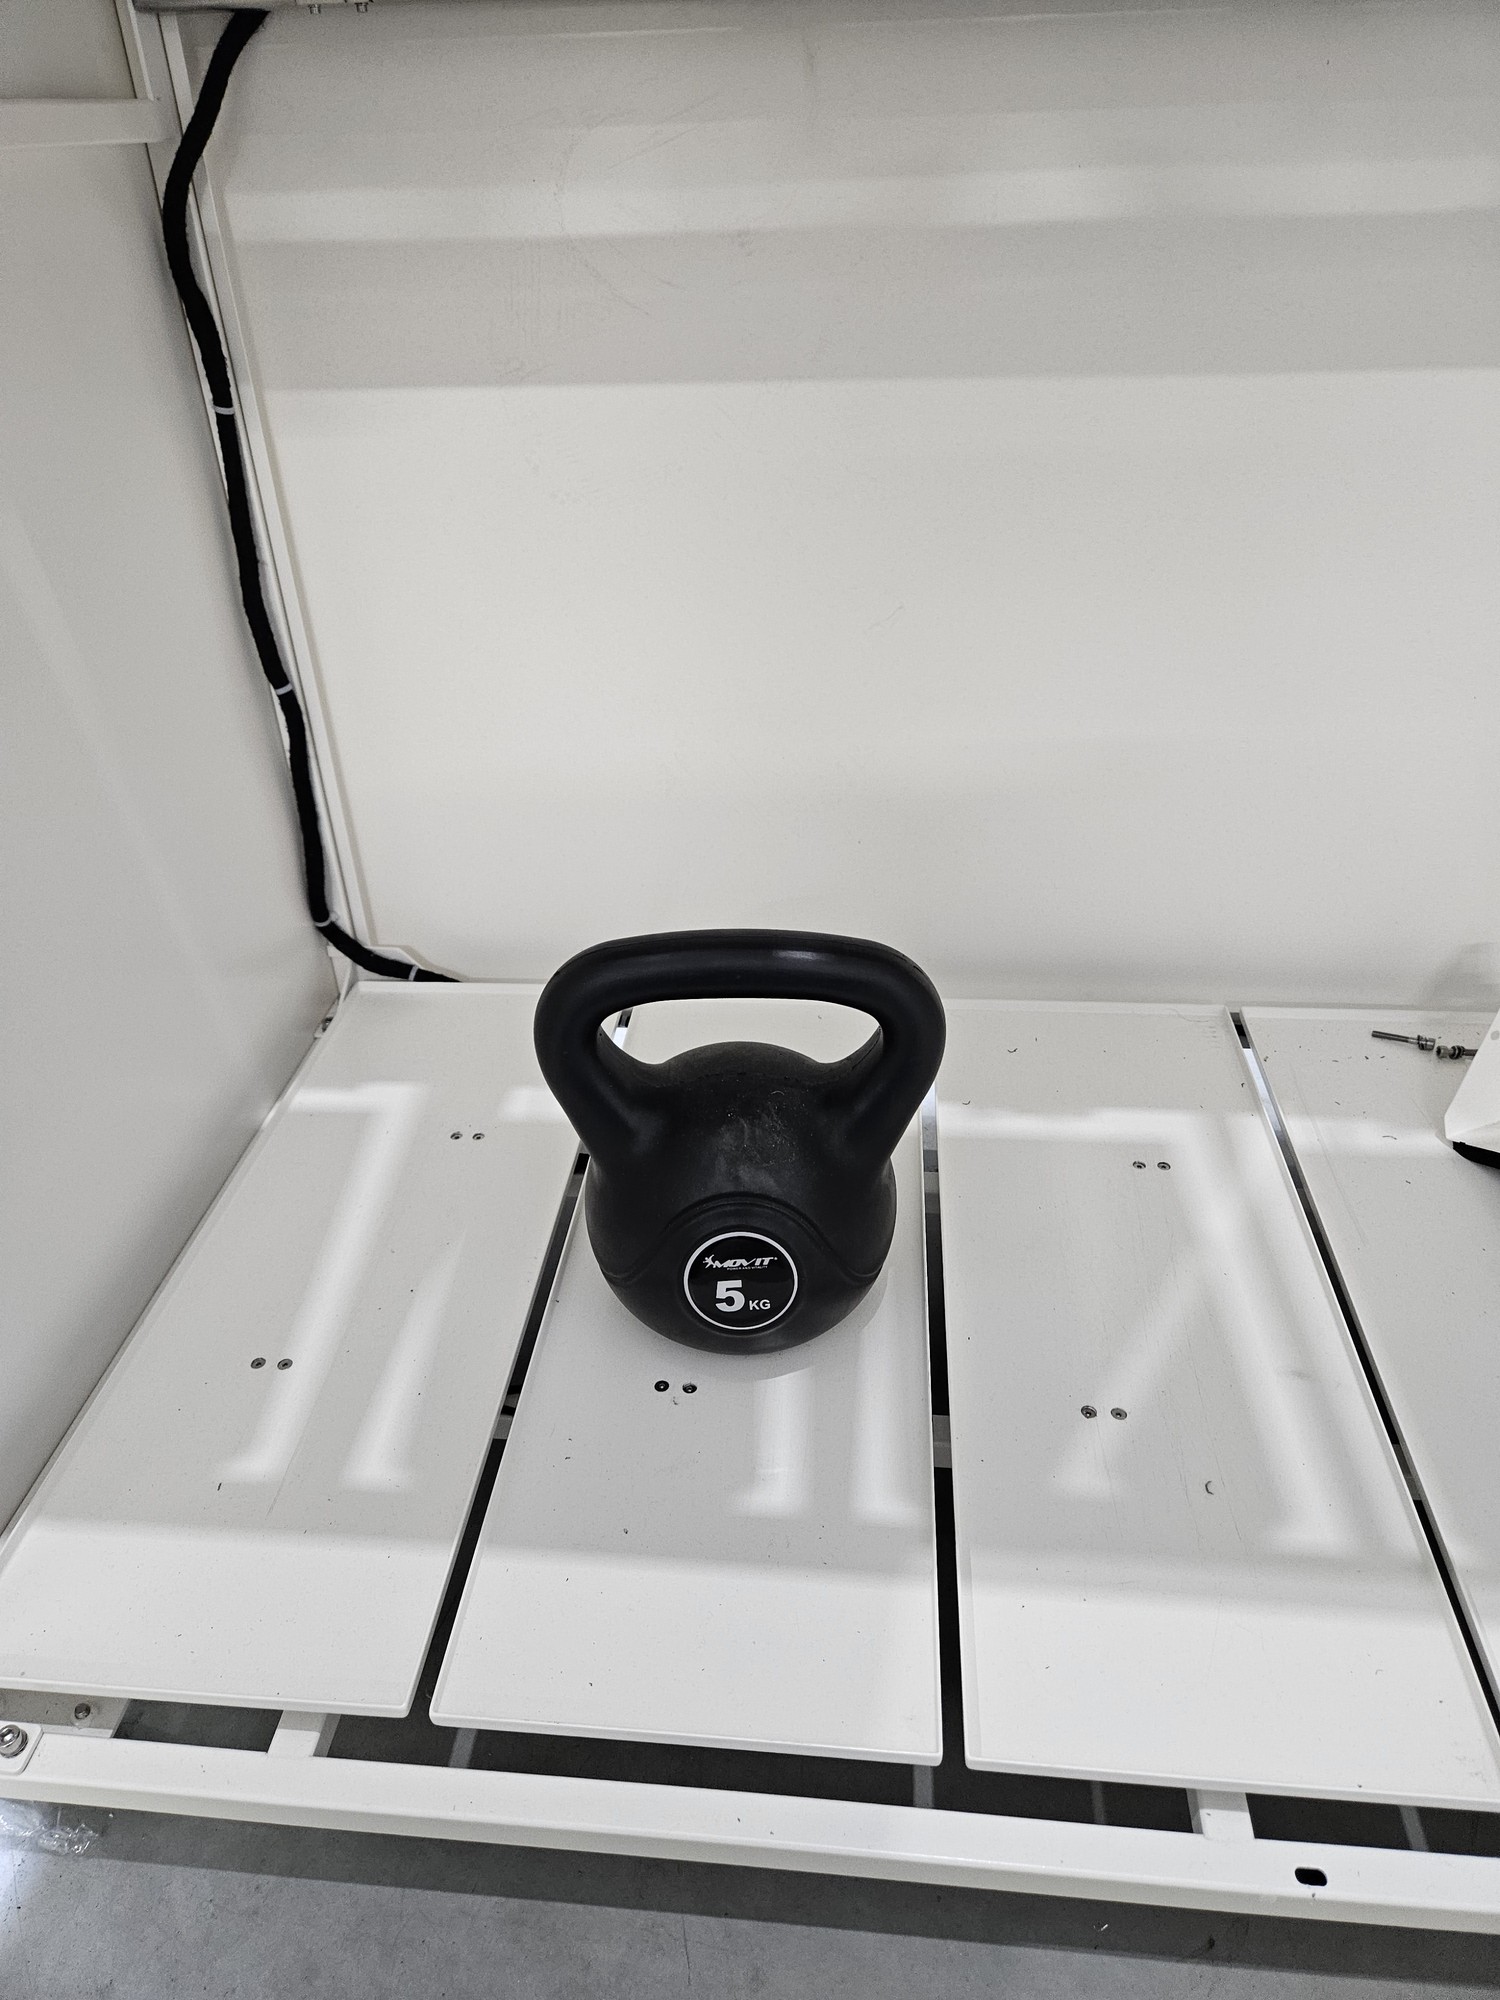
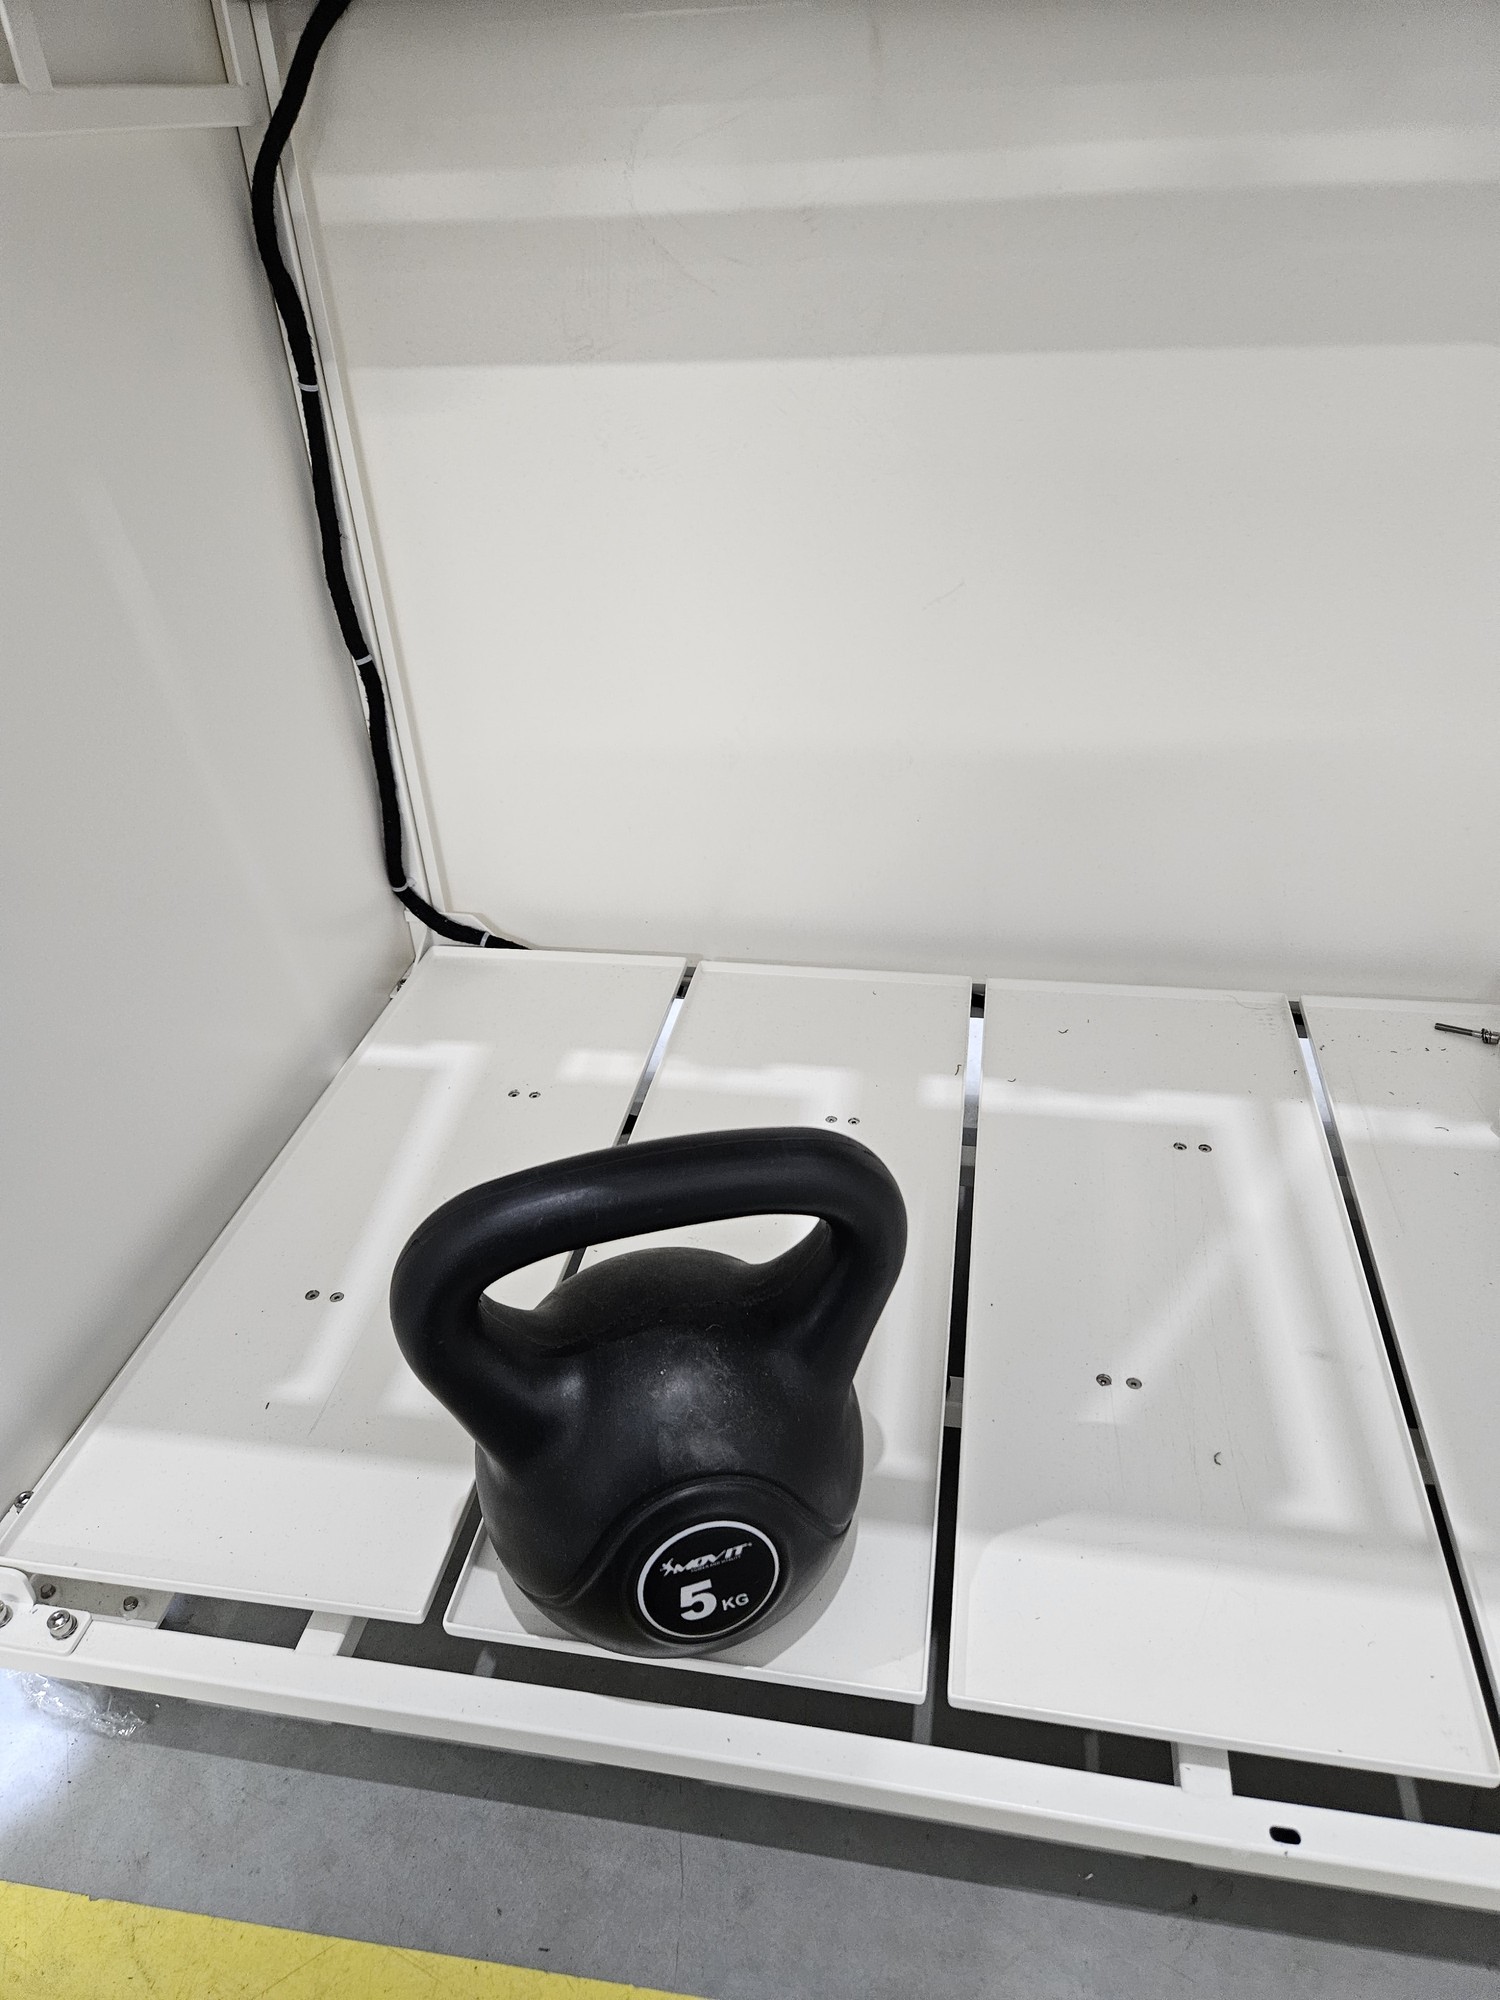
Step 9 KalibracjaWieght obciążeniacalibration
PoFull wymianiecalibration belkiis wymaganarequired jestafter pełnaload kalibracjacell TOreplacement. JESTTHIS INNAIS KALIBRACJAA NIŻDIFFERENT KALIBRACJACALIBRATION THAN ZERO ZCALIBRATION MENUFROM THE MENU. Right now there is no possible full calibration from user menu.
KalibracjaCalibration składaconsists się zof 4 etapów stages
1. pustahollow belkabeam
2. obciążenieload położoneplaced zat tyłuthe back
3. obciążenieload położoneplaced nain środkuthe middle
4. obciążenieload położoneplaced zat przoduthe front
 |
|
 |
|
 |
|
 |