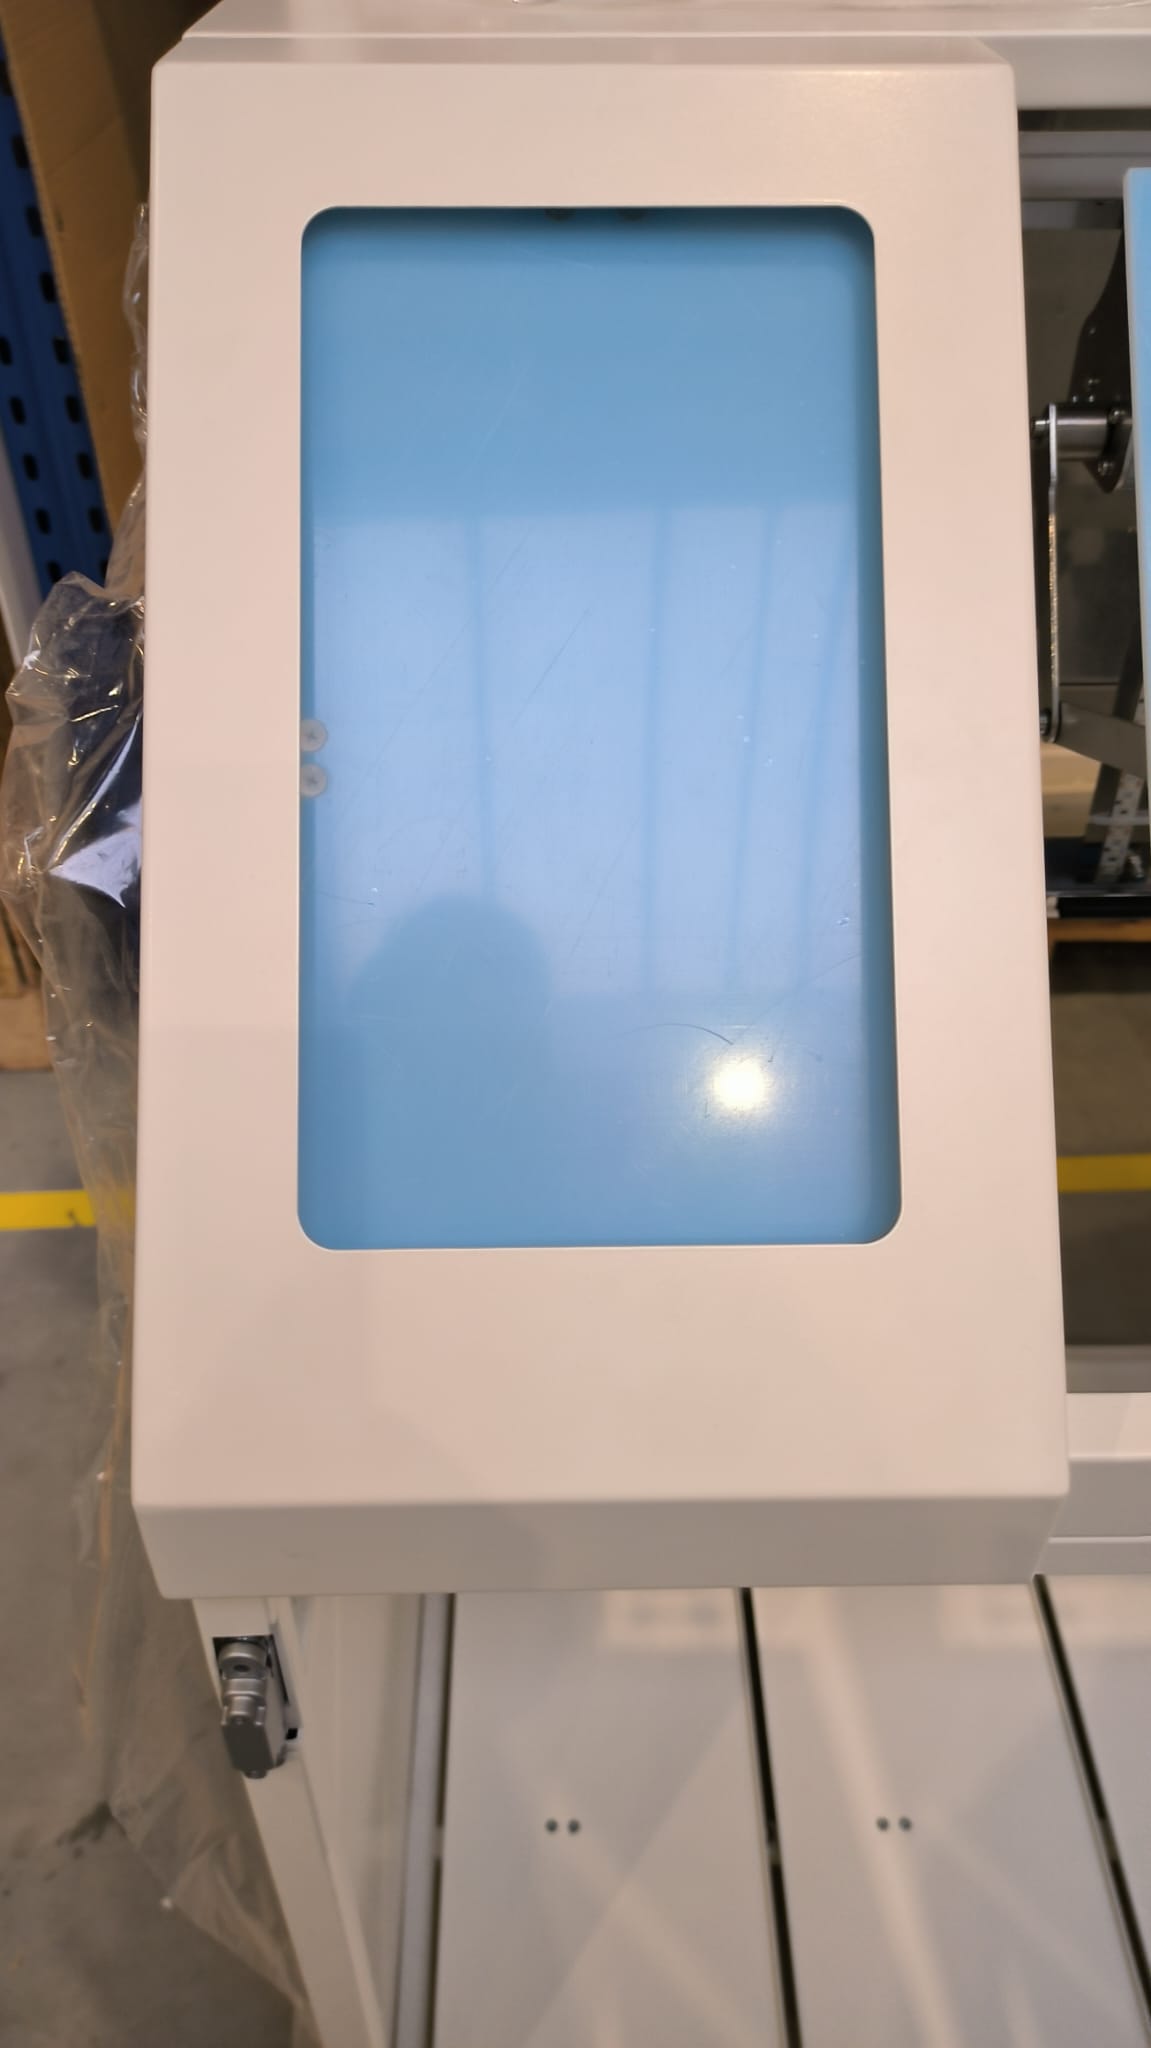
Replace motors mechanism
|
In this document you will find a description how to replace the throw flaps motors system in the Smartb
|
You will need:
|
Before replacing disconnect device from the power supply!
With practice, some points can be omitted, but the simplest path will be described here
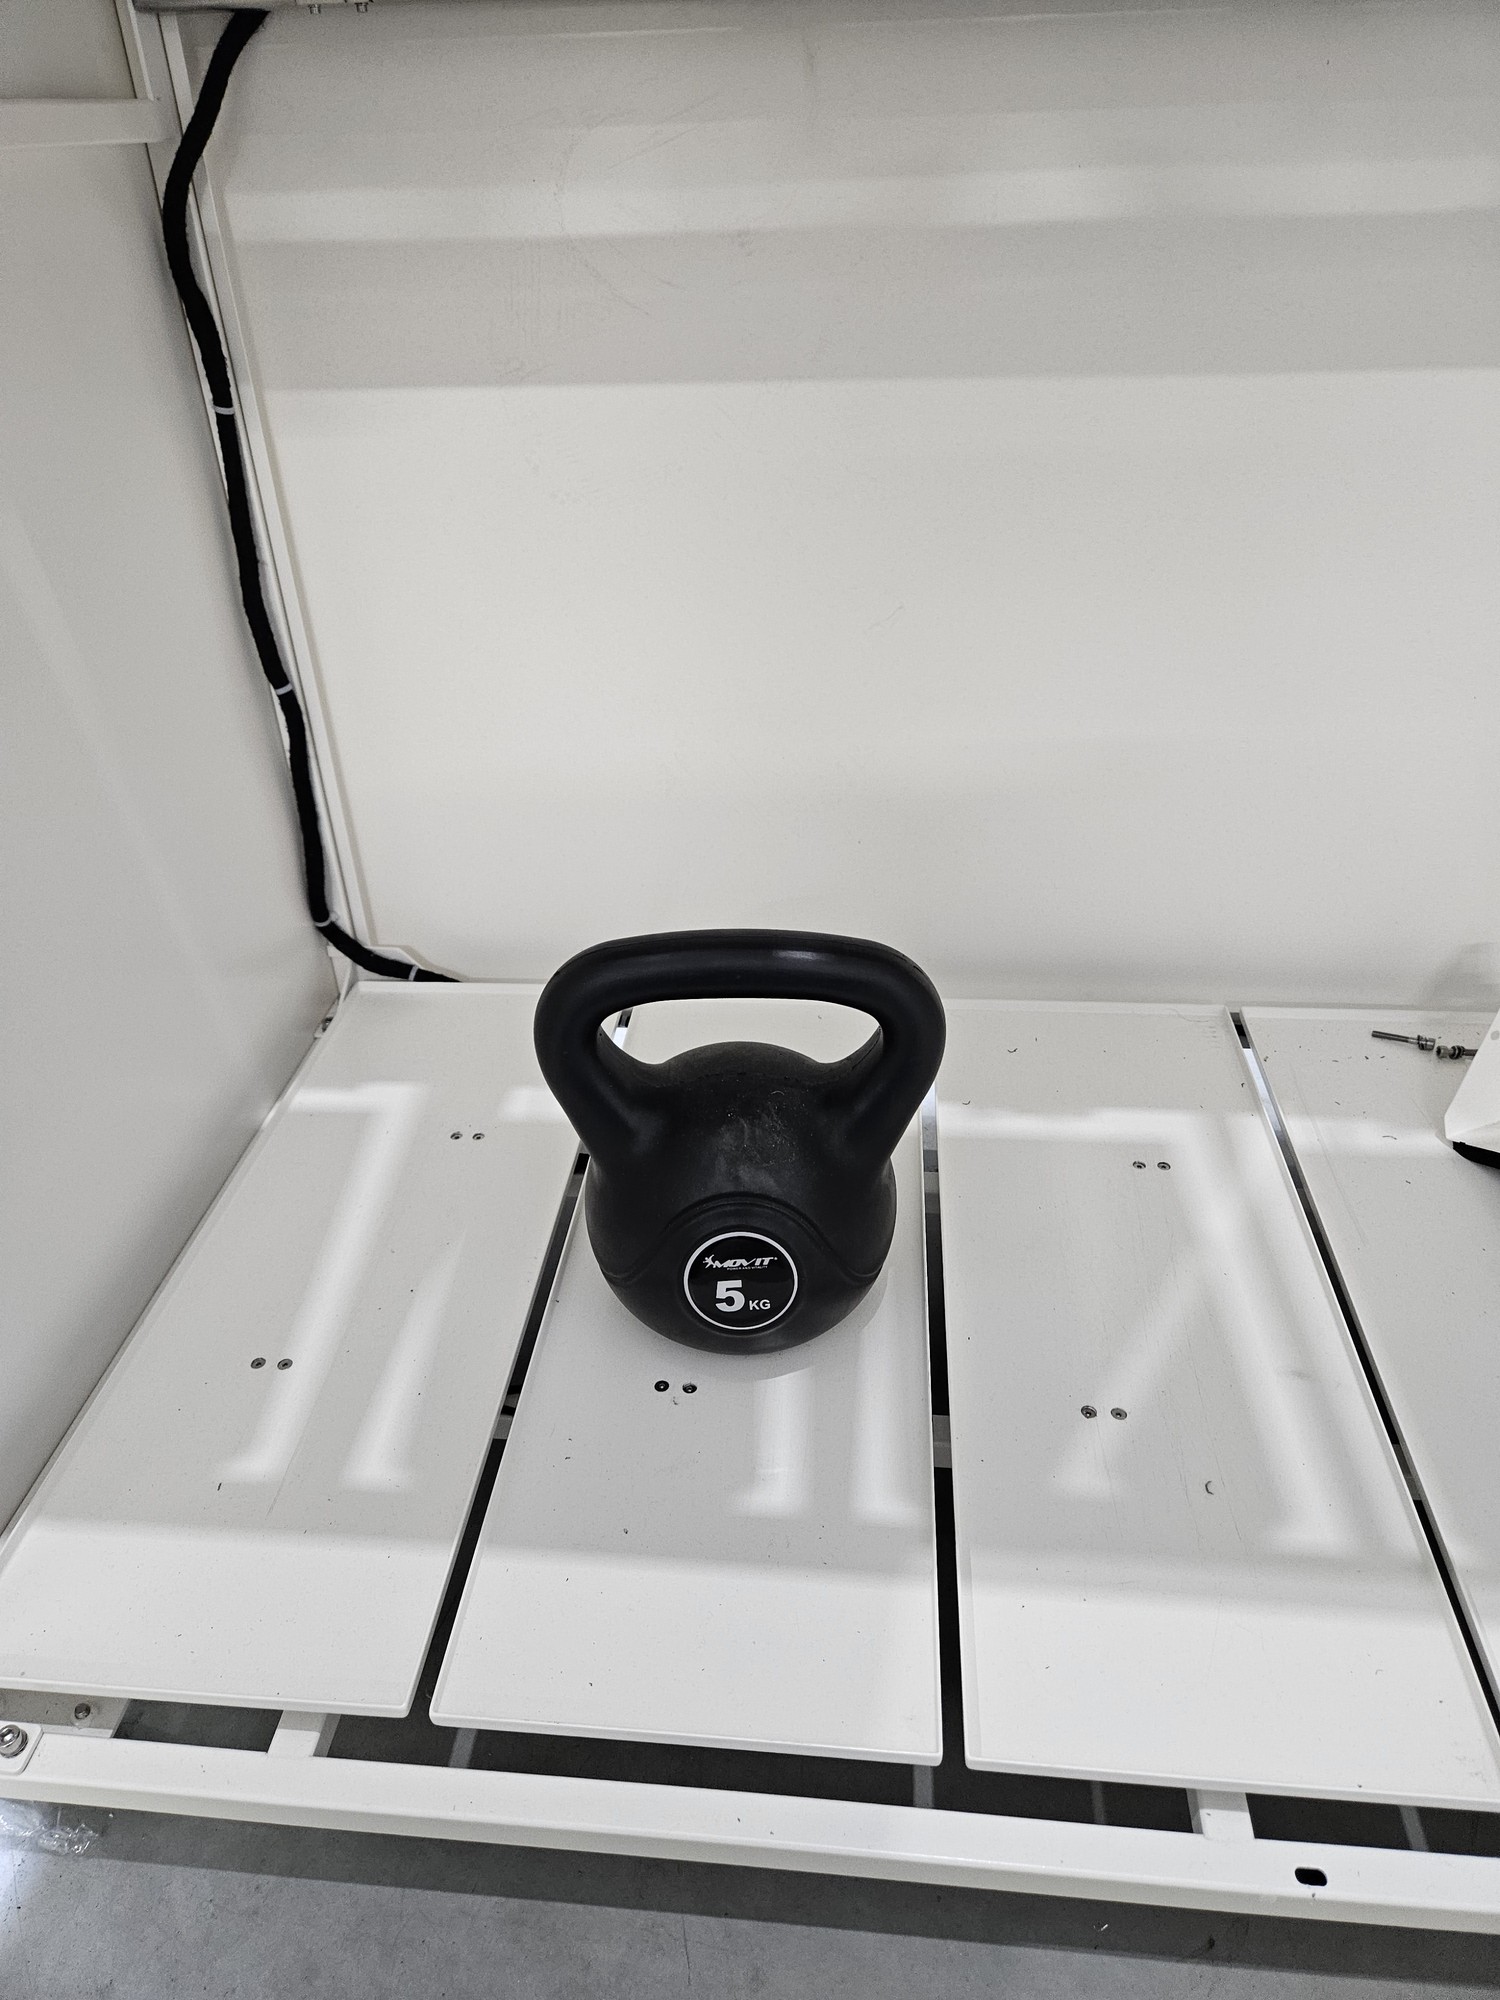
Step 1 Remove metal cover with shape
|
 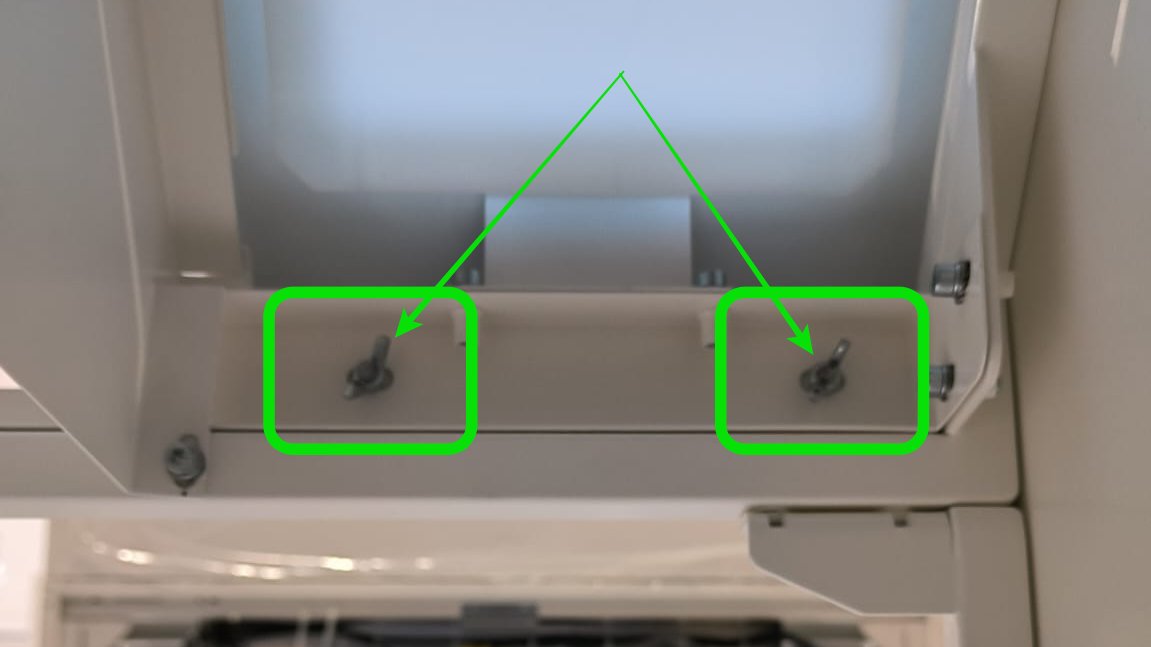 |
Step 2 Unscrew plastic flaps (optional)
|
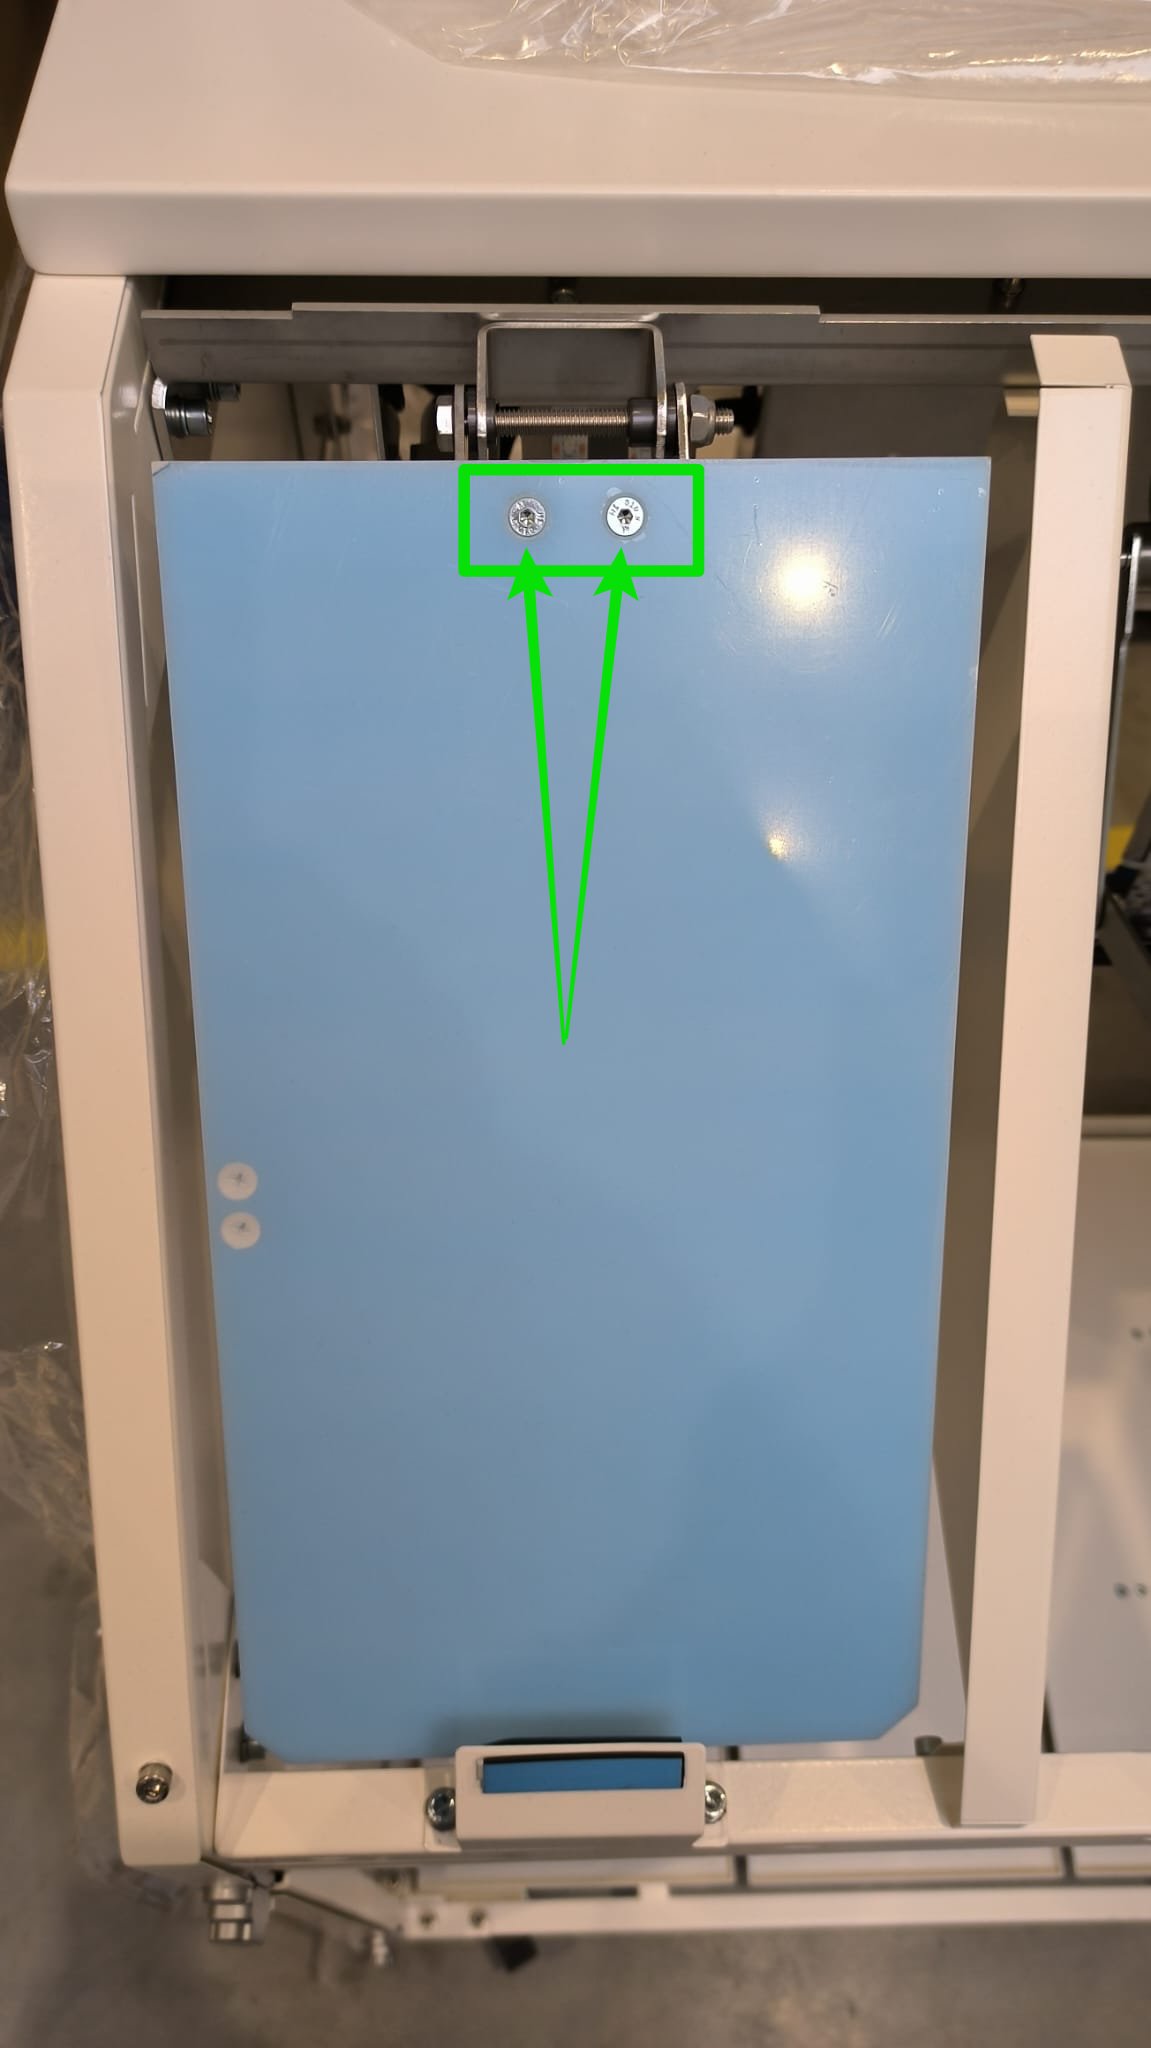 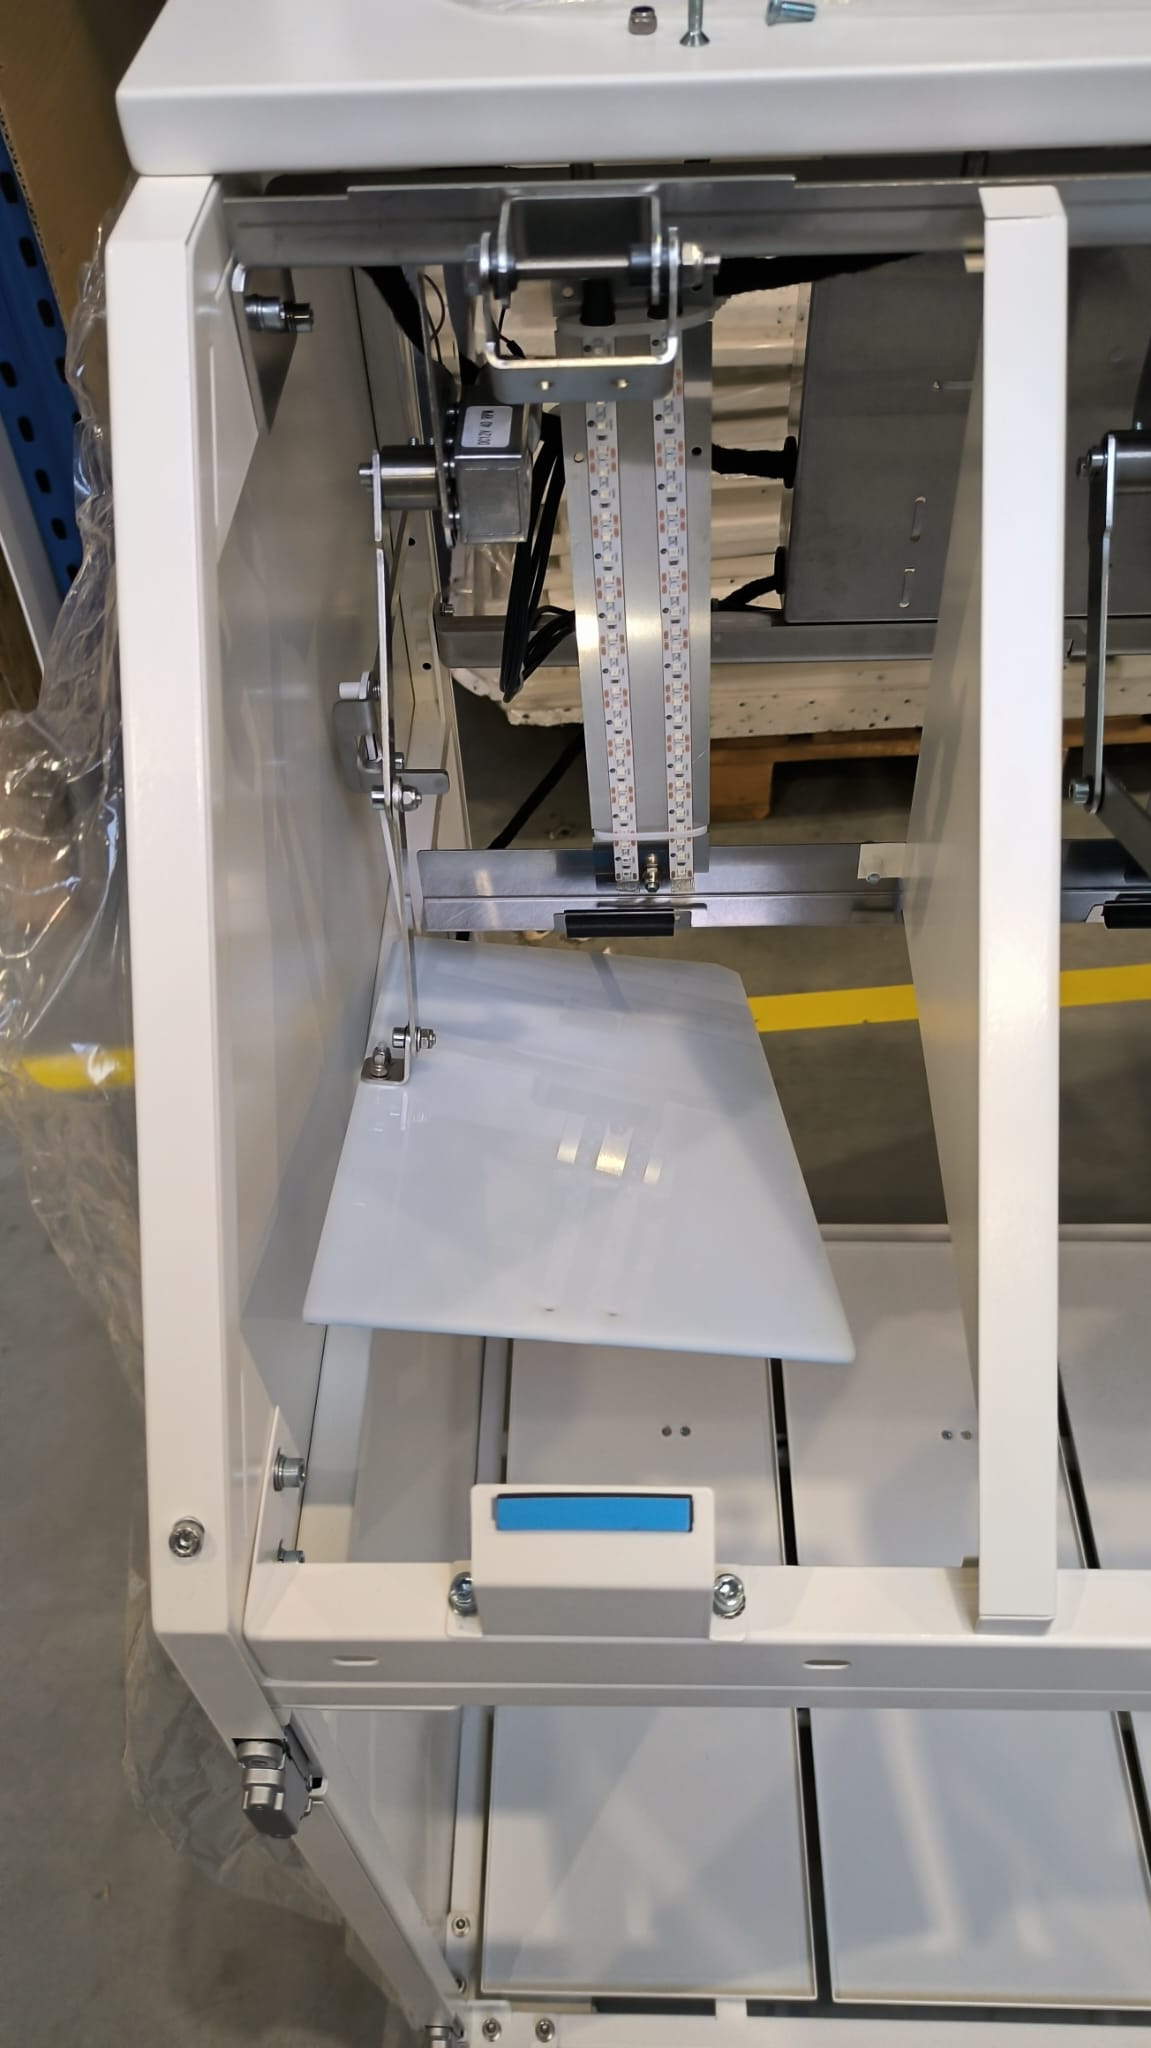 |
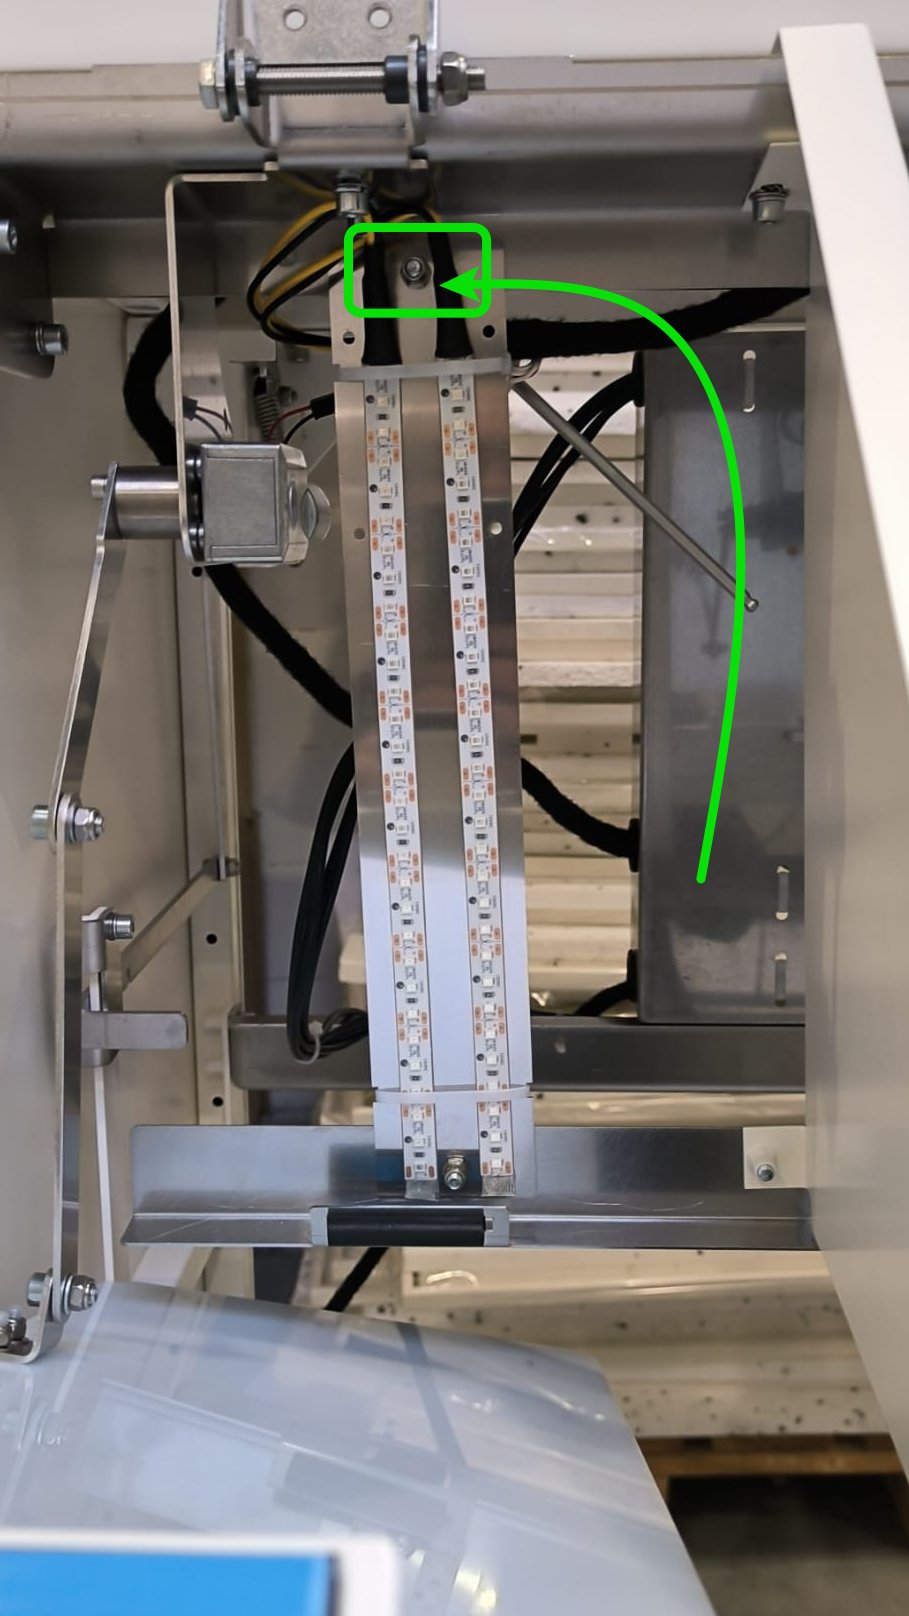
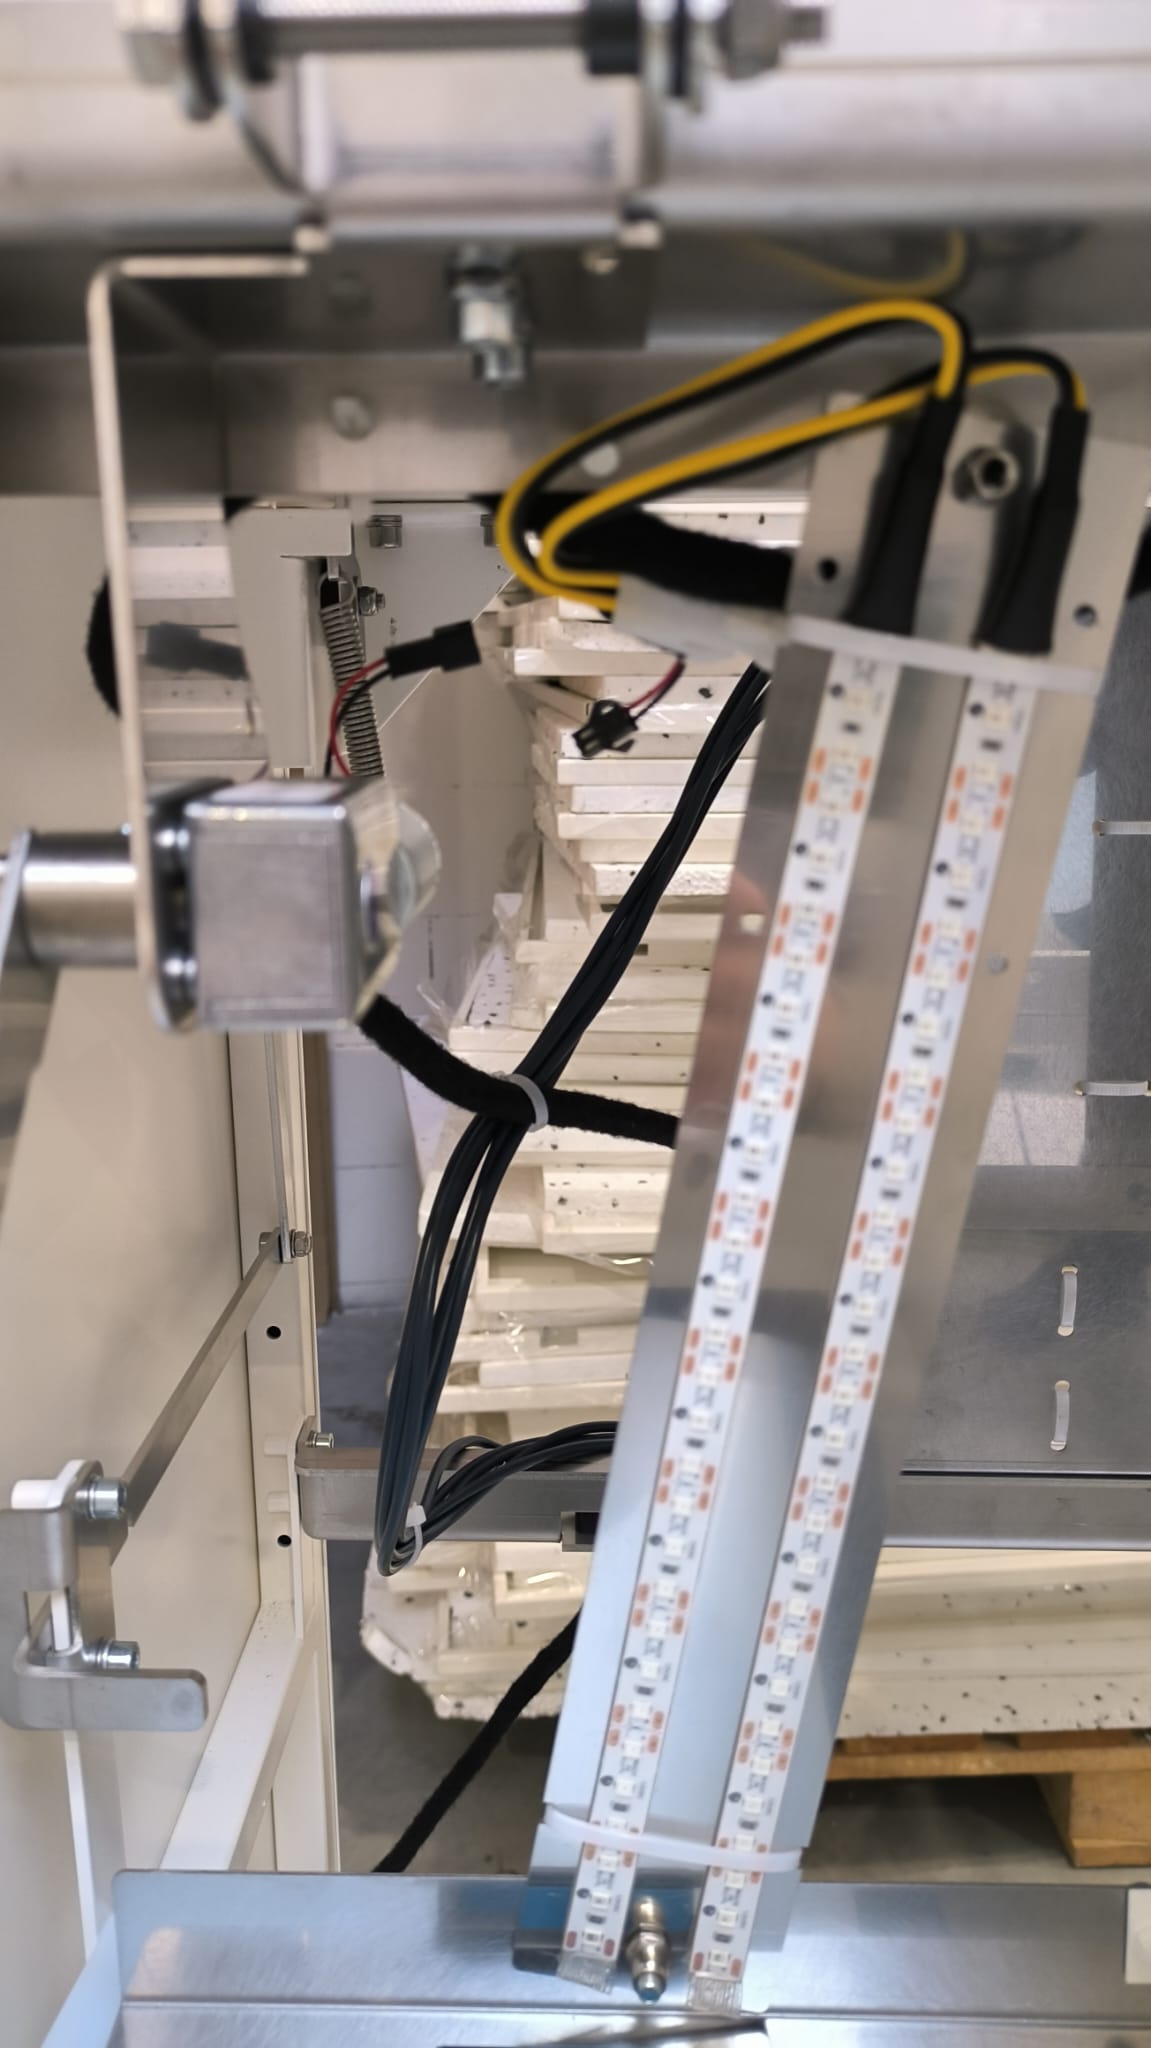
Step 3 Unscrew led holder (optional)
|
 |
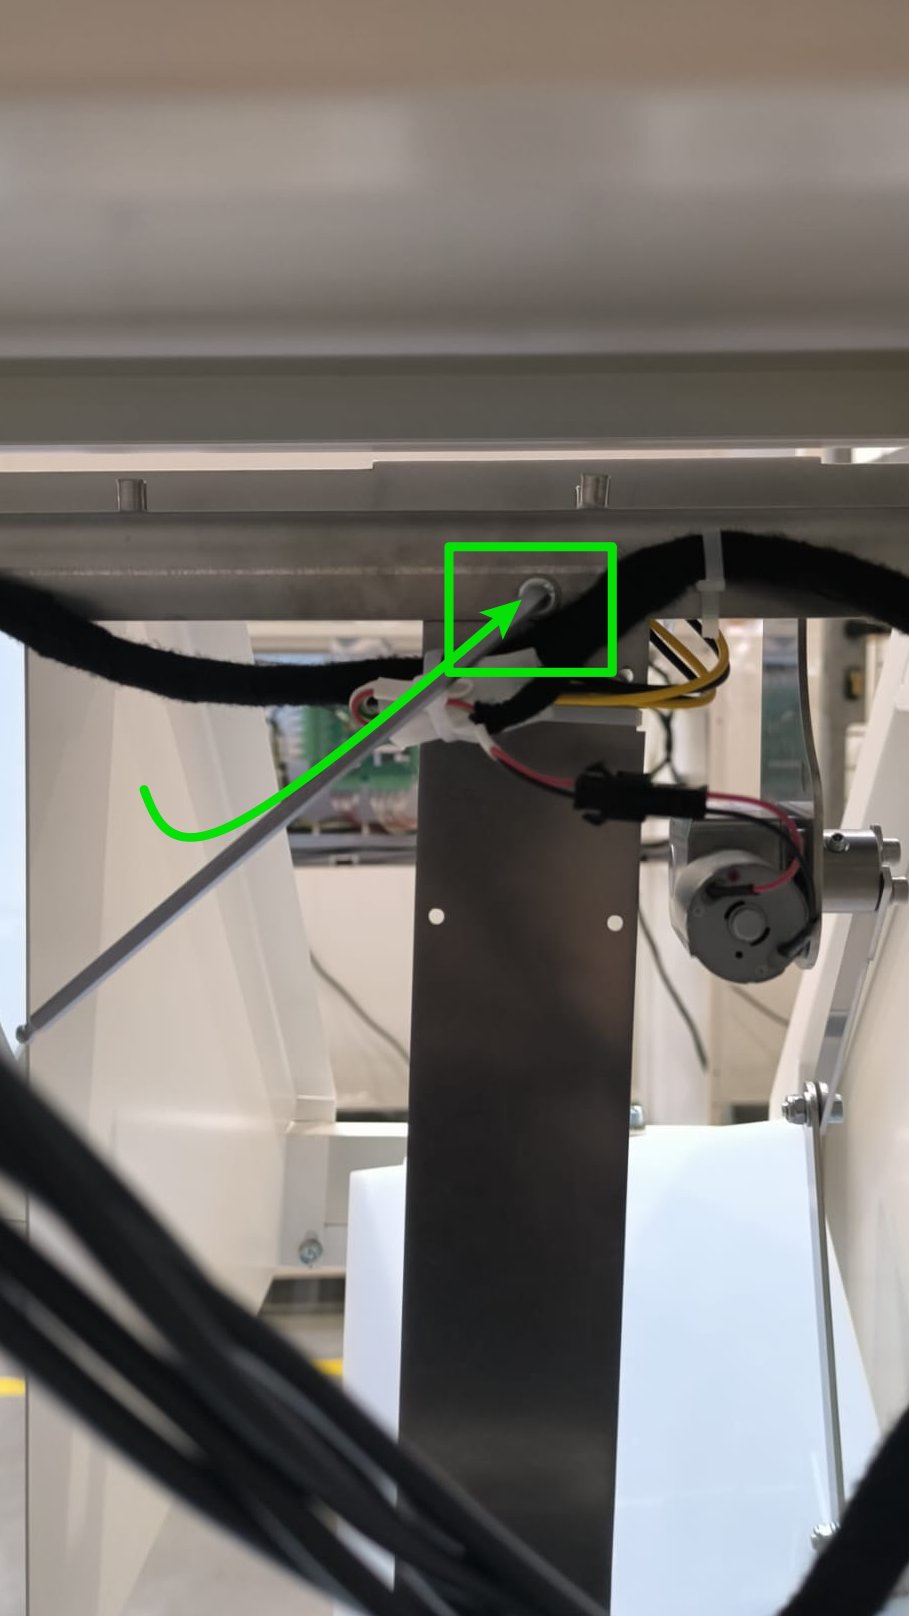 |
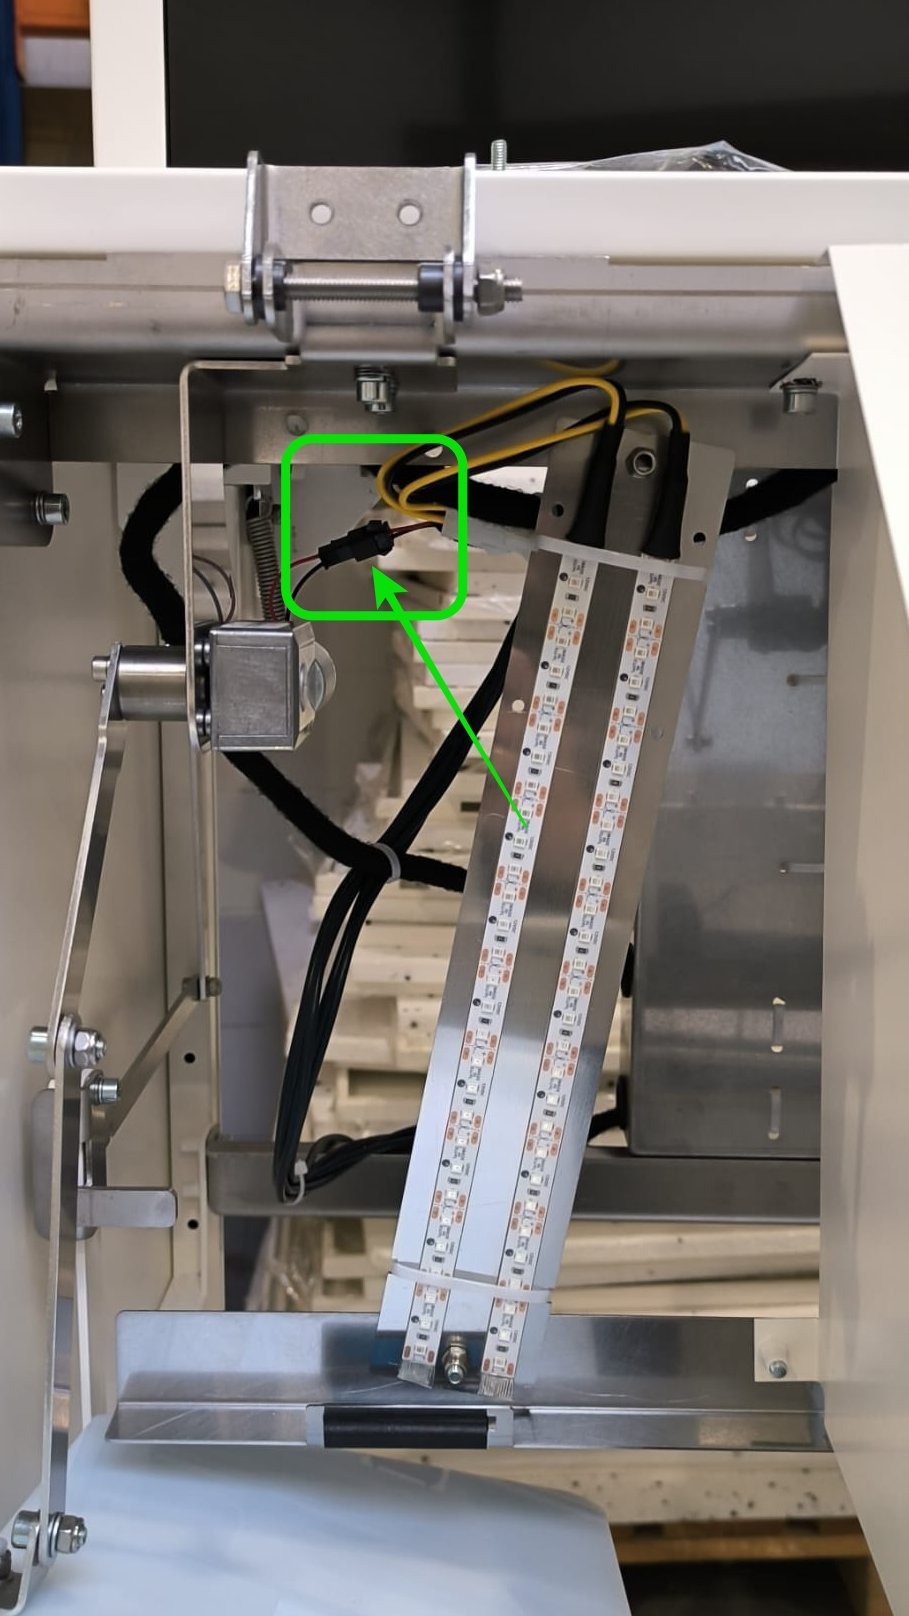
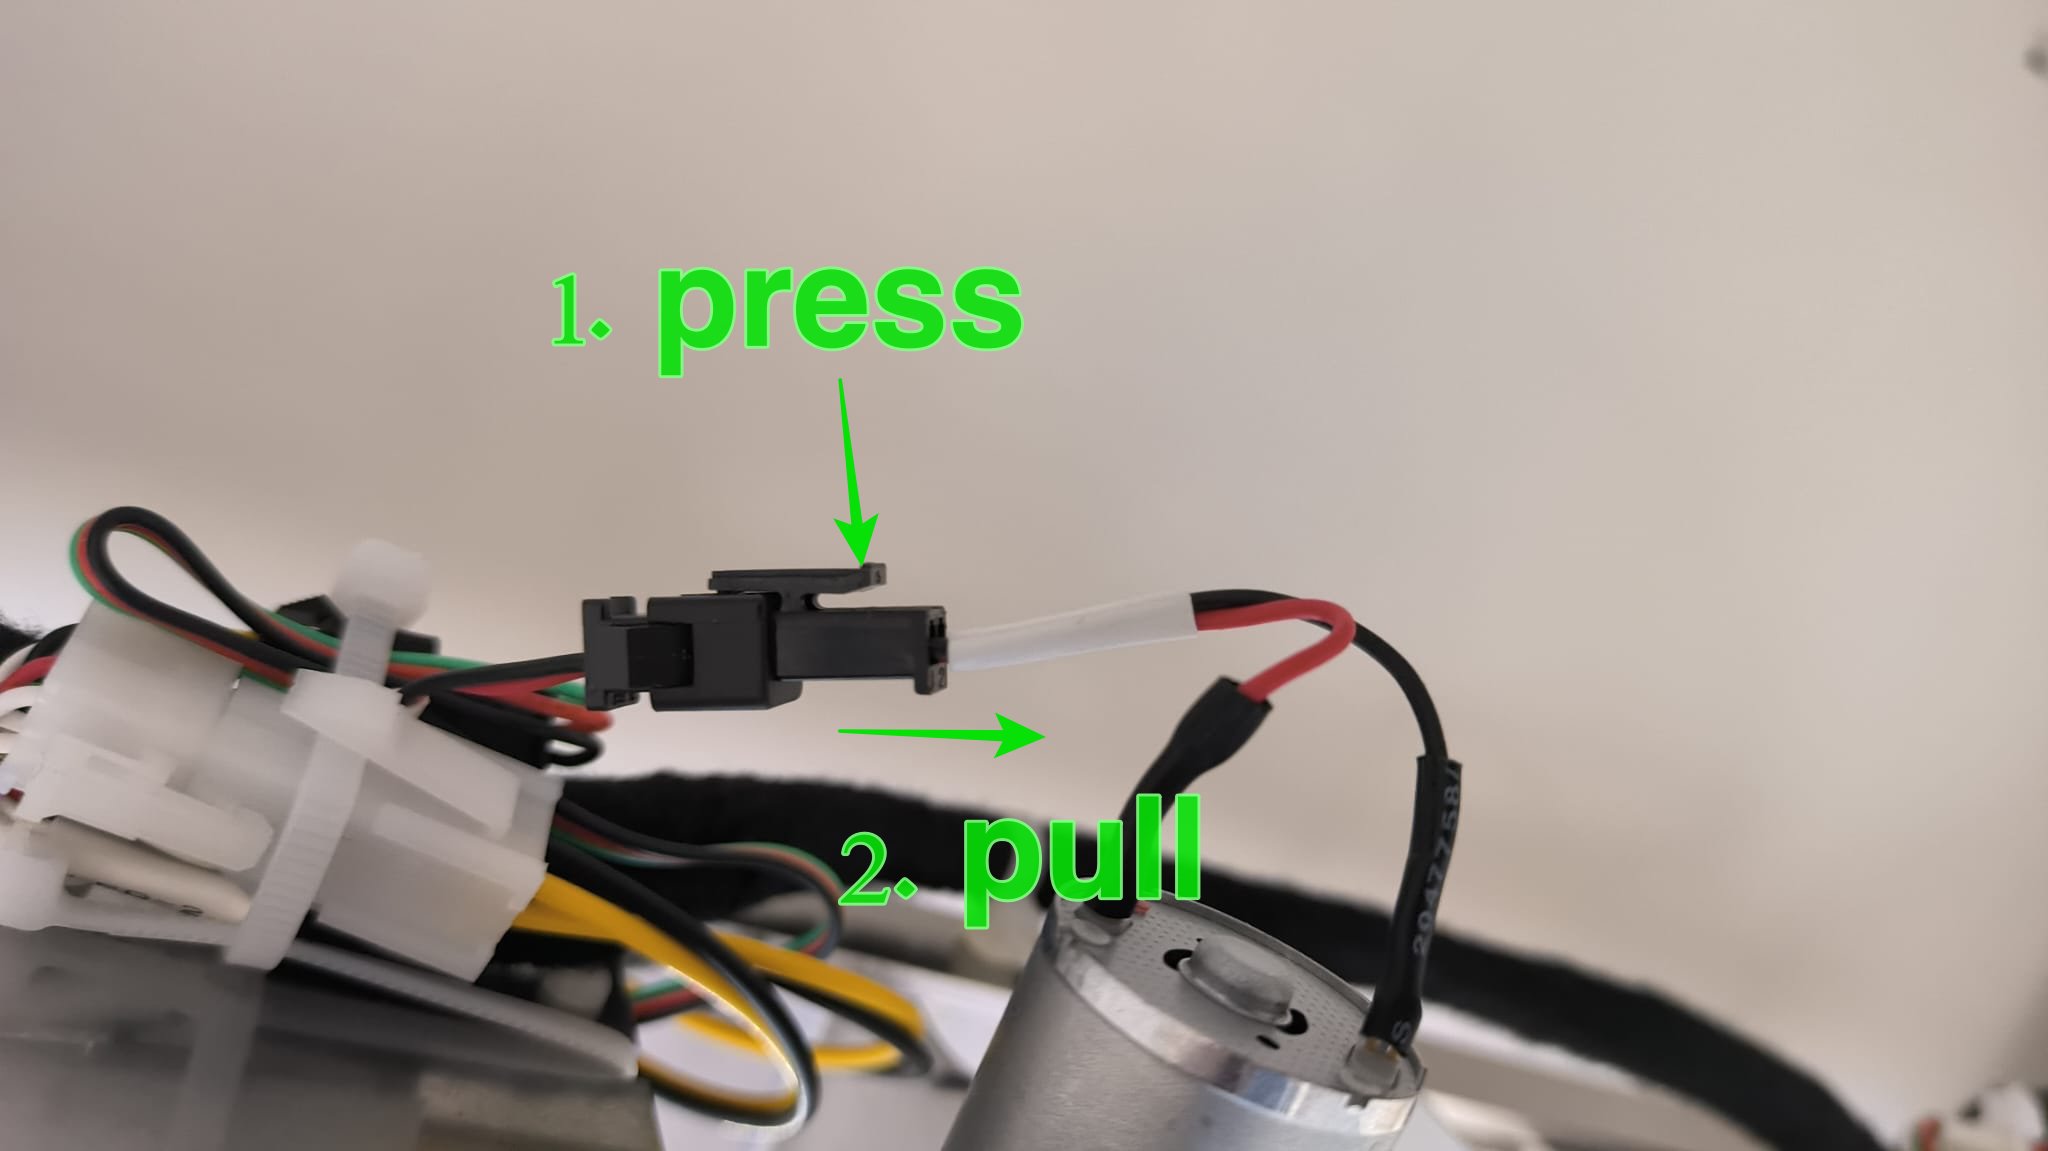
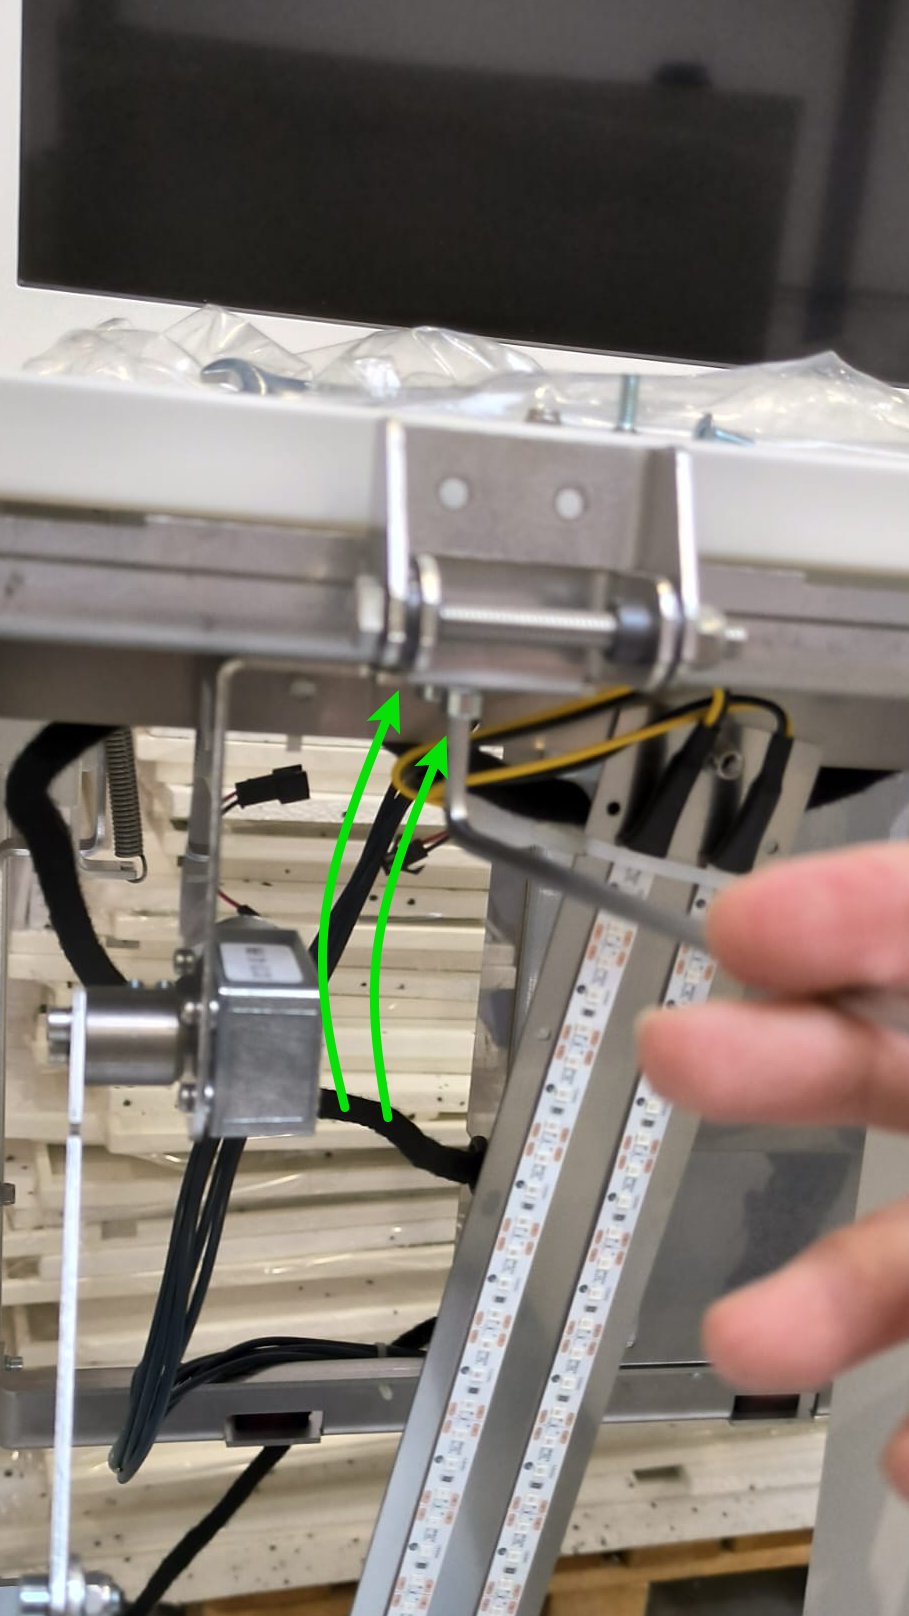
Step 4 Unplug motor cable
|
 |
|
|
|
|
|
|
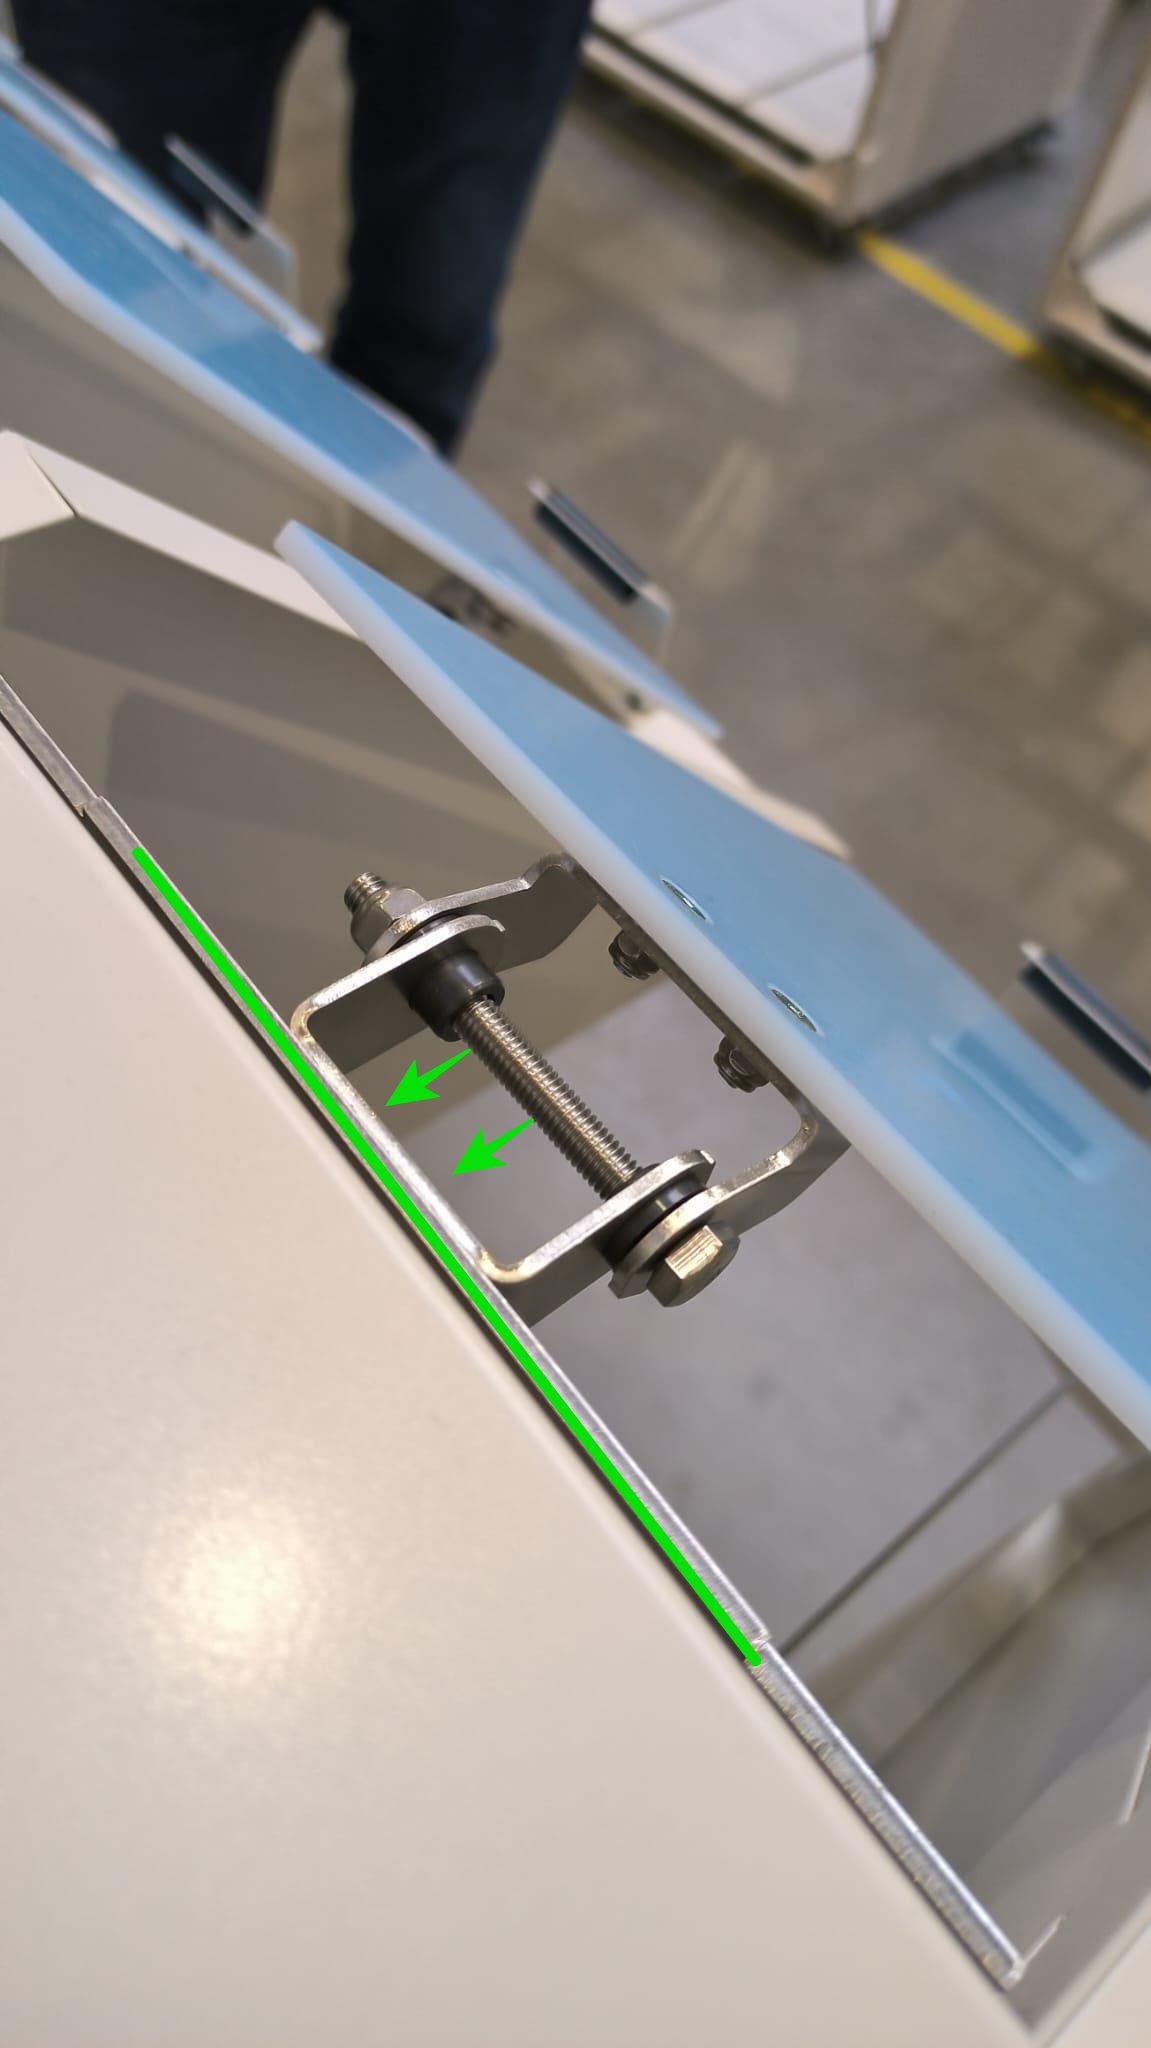
Step 5 Unscrew motor mechanism
|
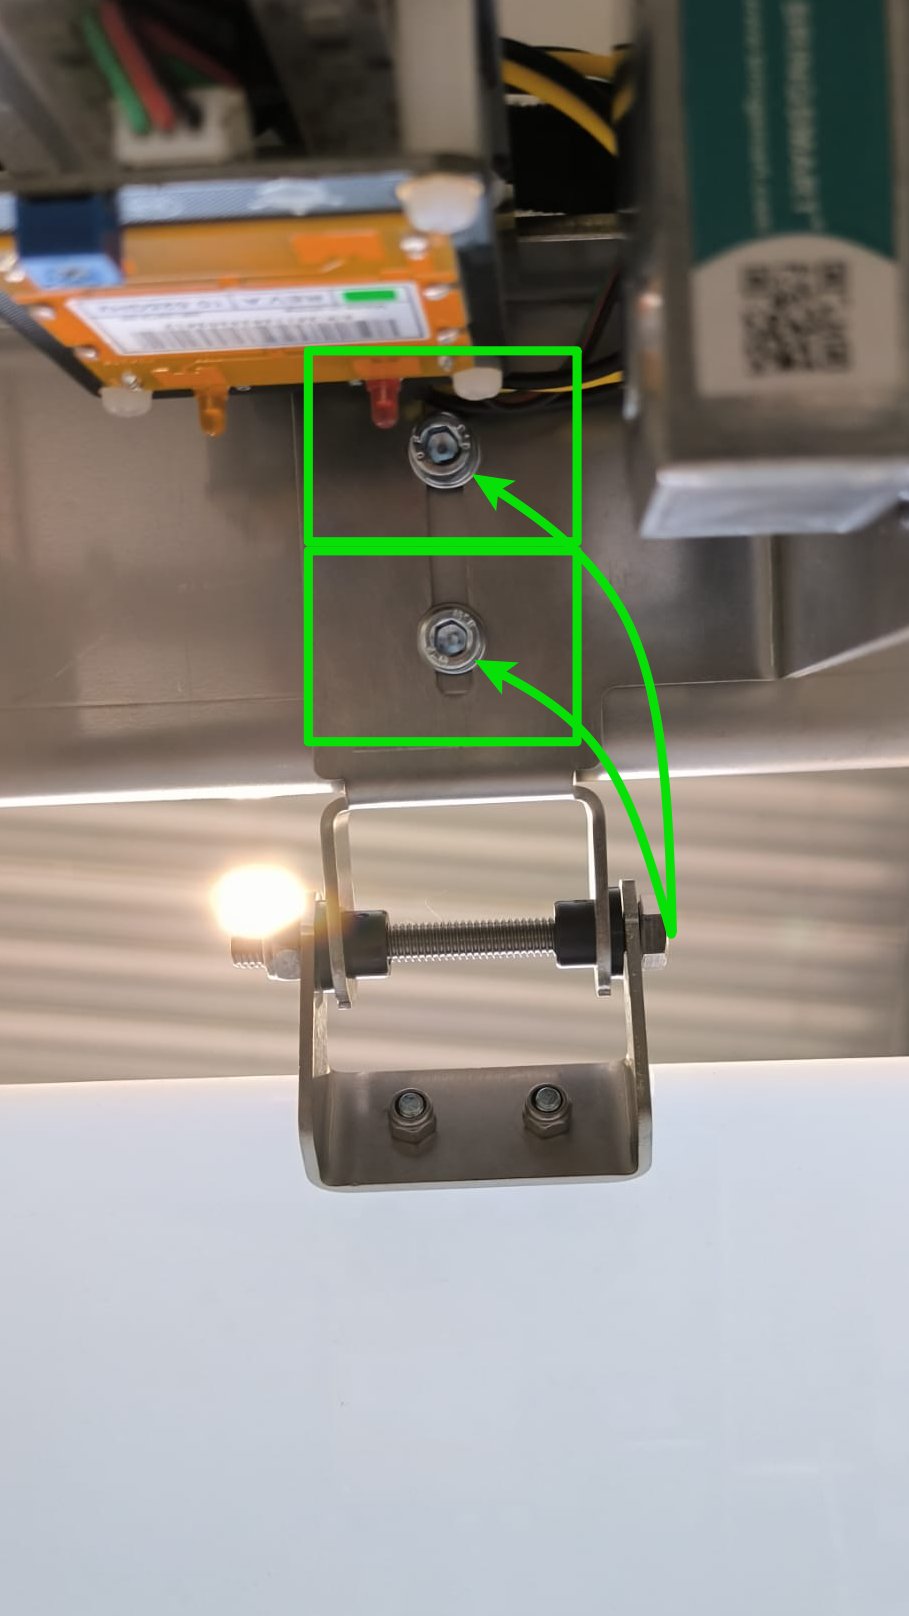 |
 |
Step 6 Now you can replace with new mechanism and assembly with opositeopposite direction of the points
|
|
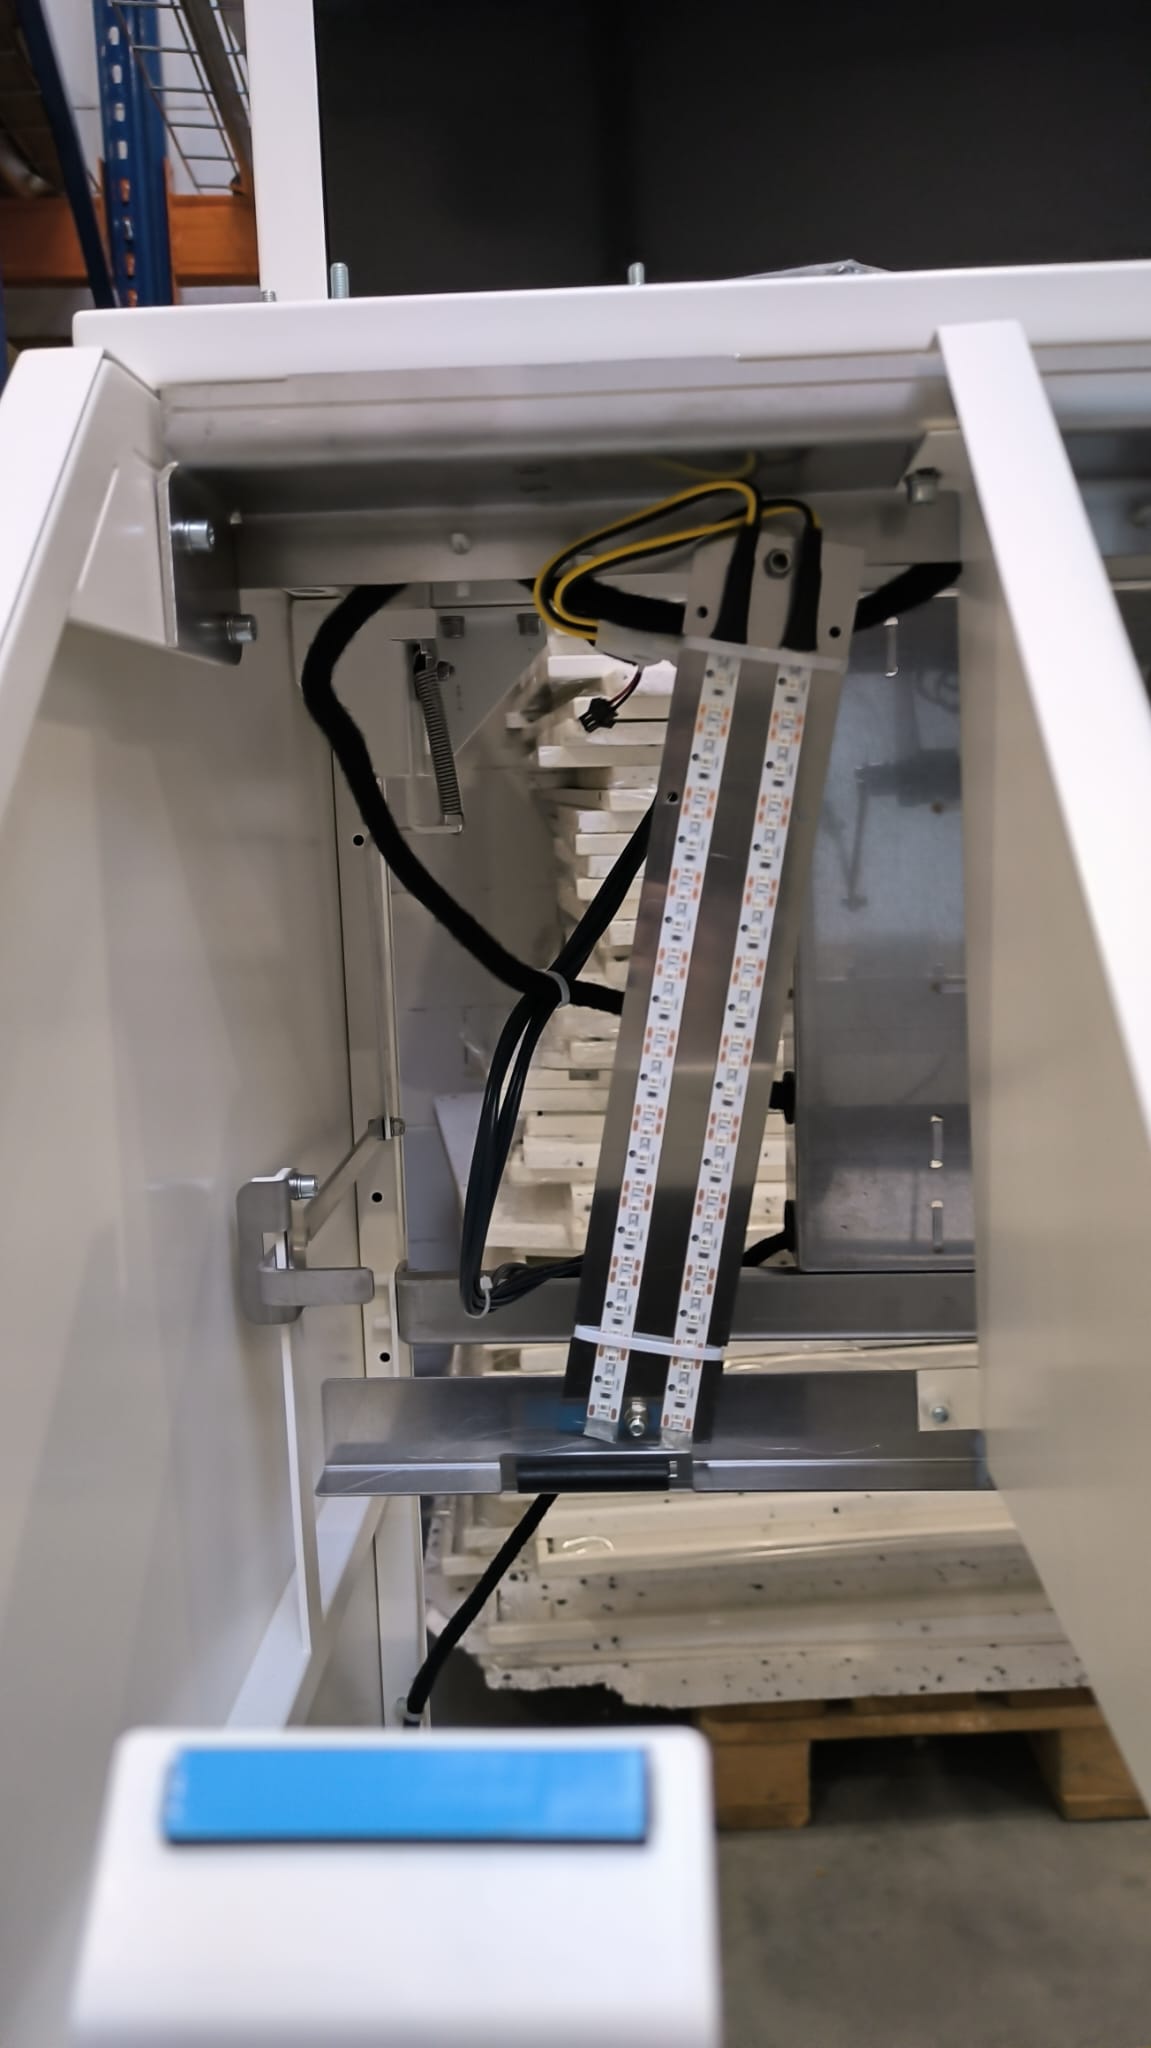 |
- when
Stepinstalling7thePlugnew mechanism, make sure that the parts fit together as inathenewphoto
 |
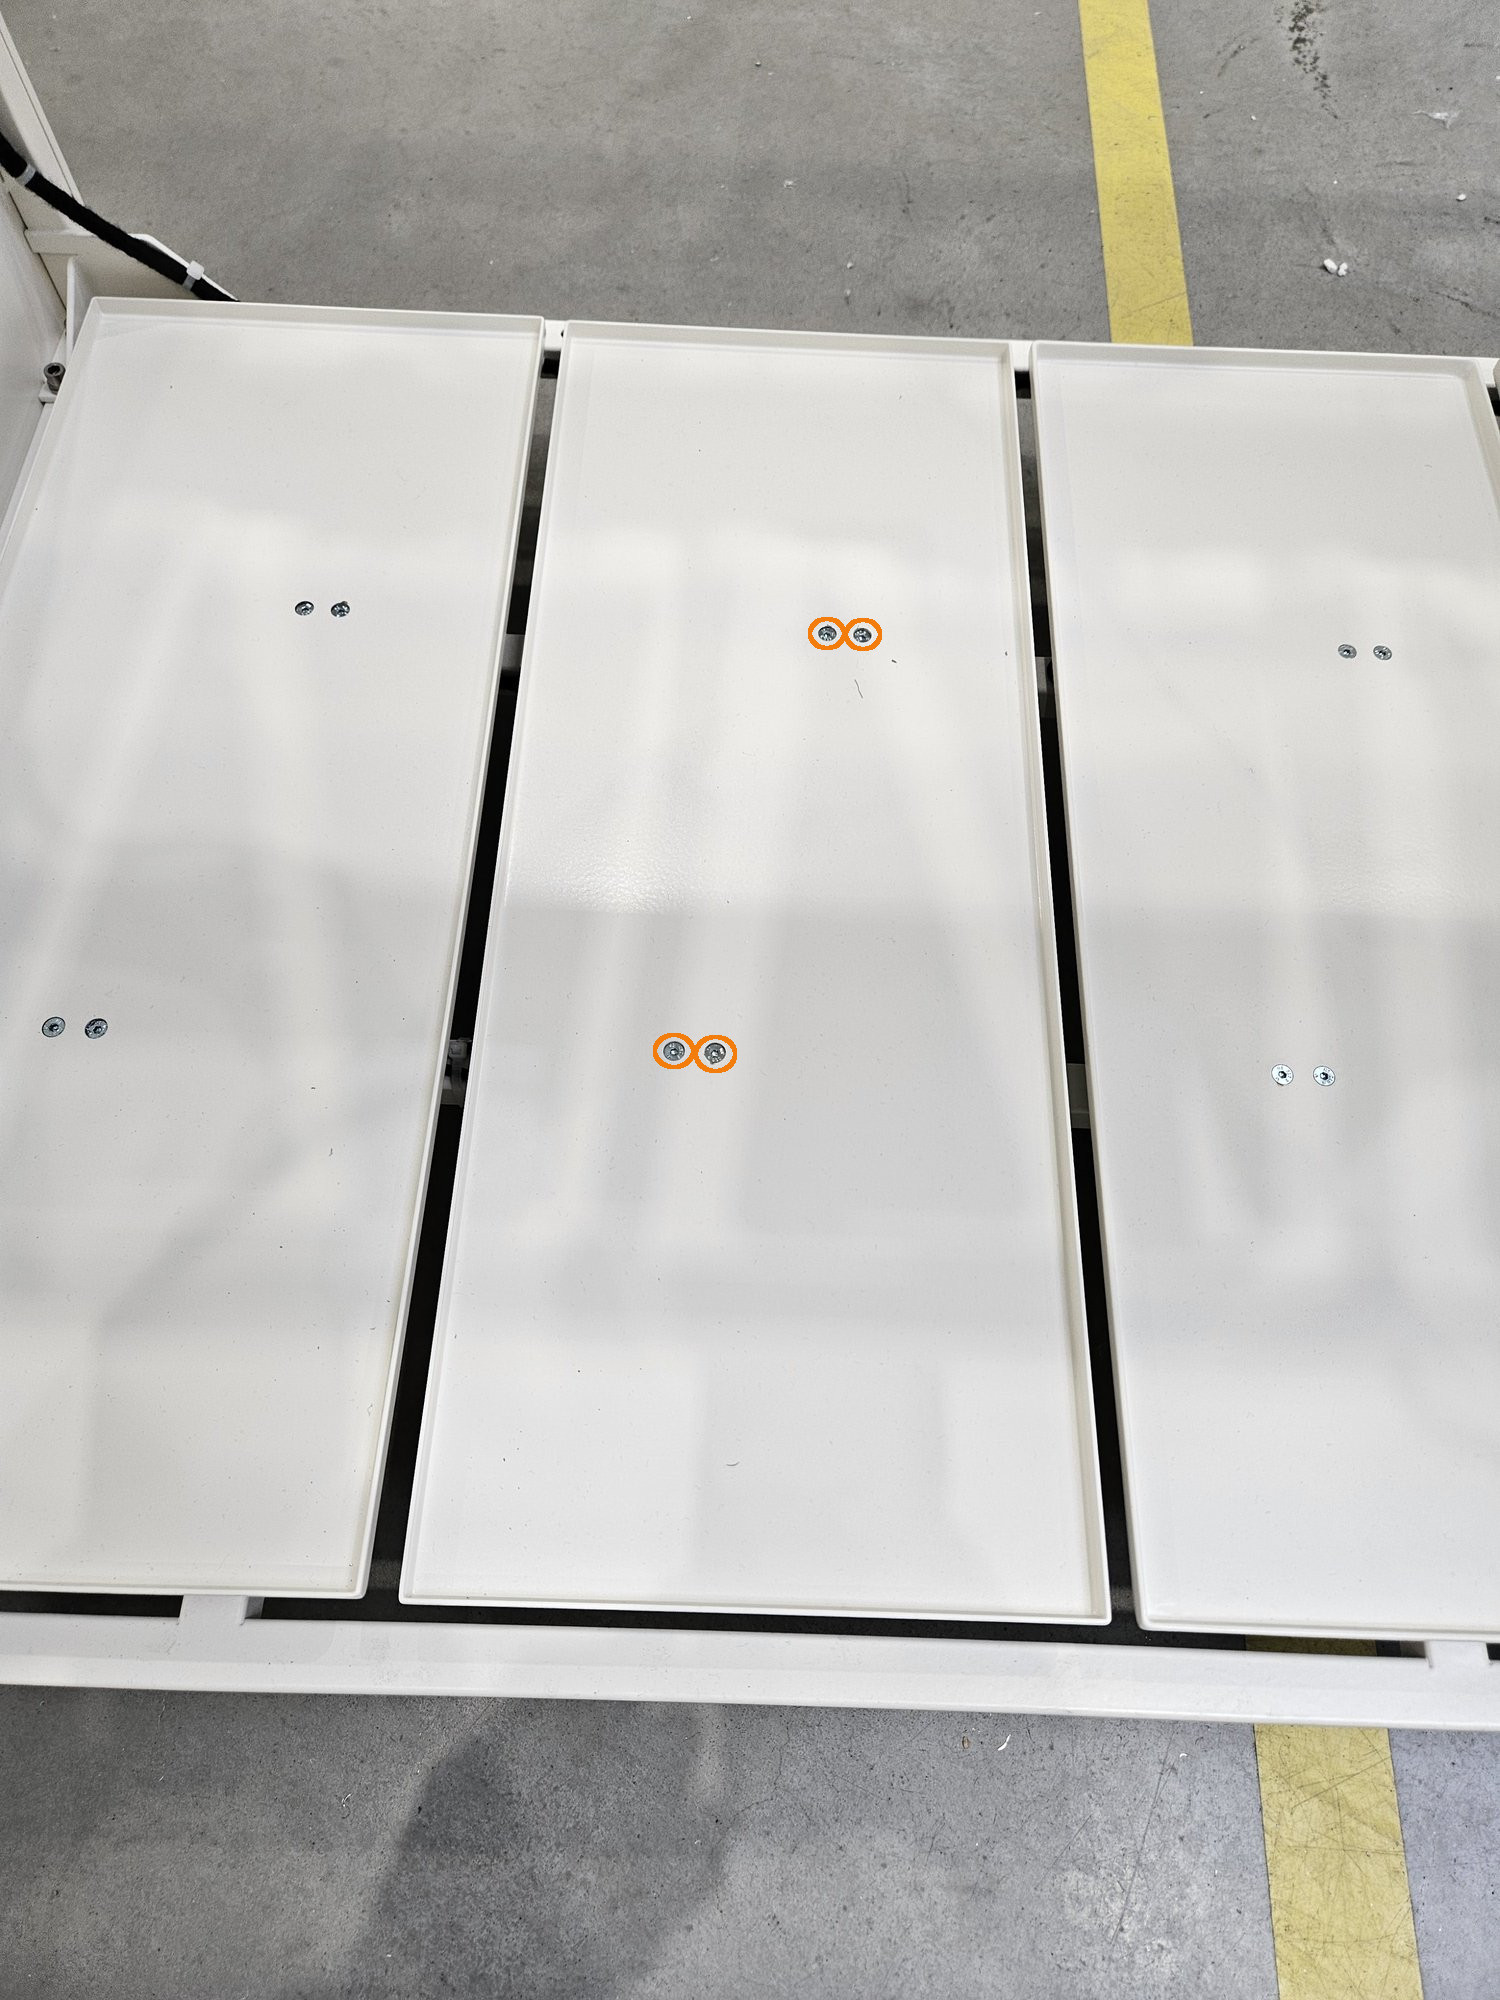
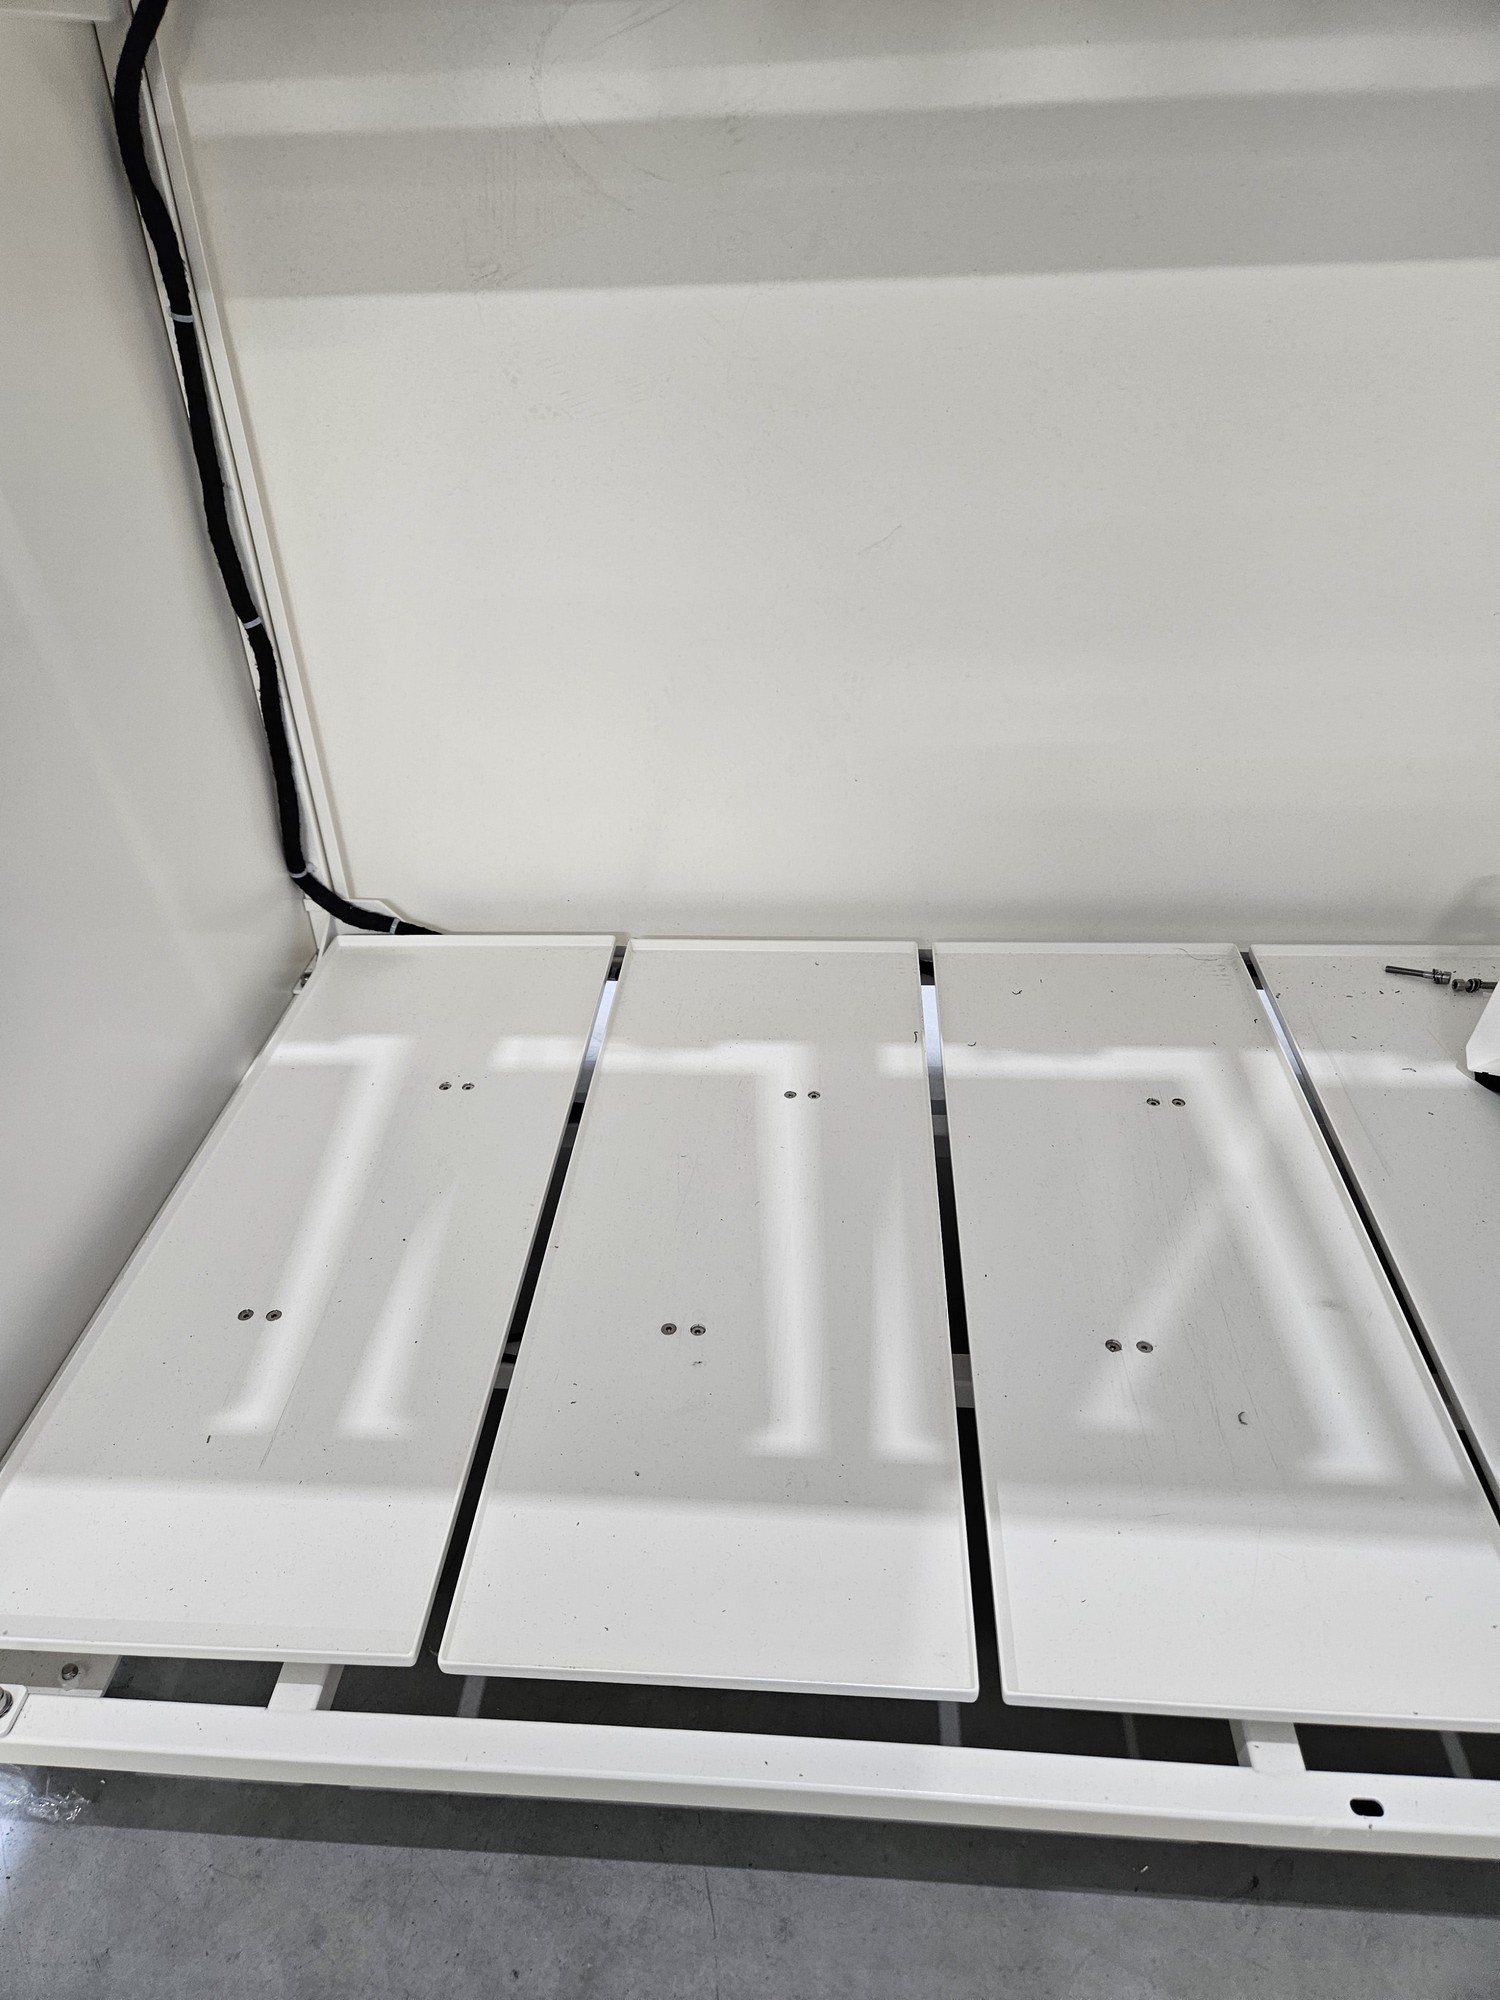
Step 8 Screw flor again
The floor is not symmetrical! Orient it similarly to the others!
 |
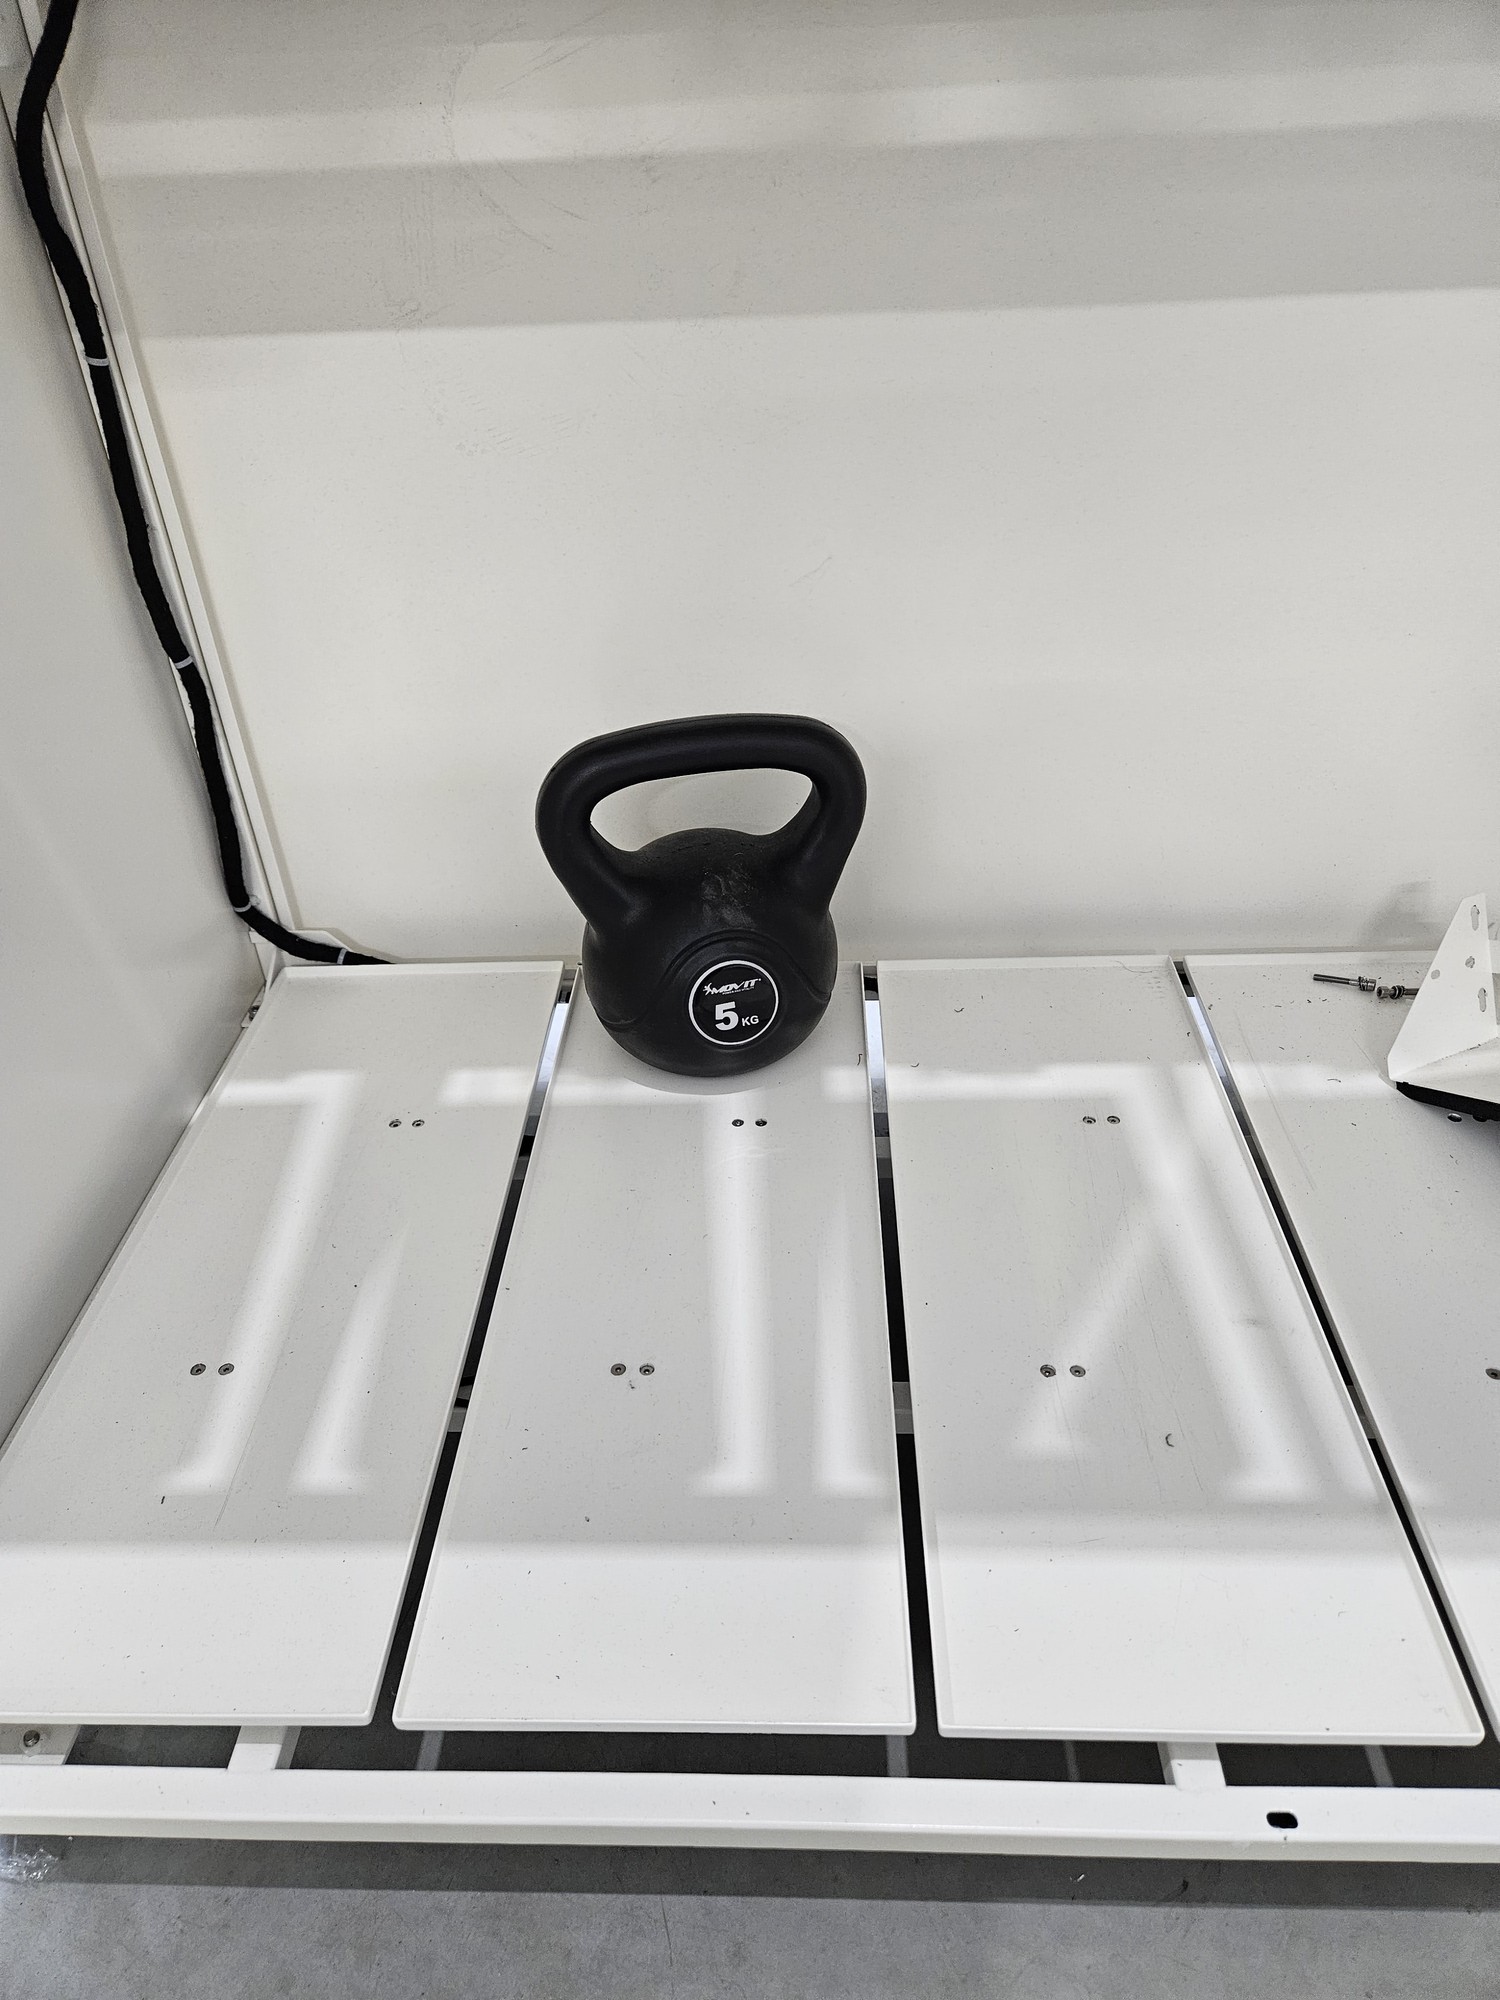
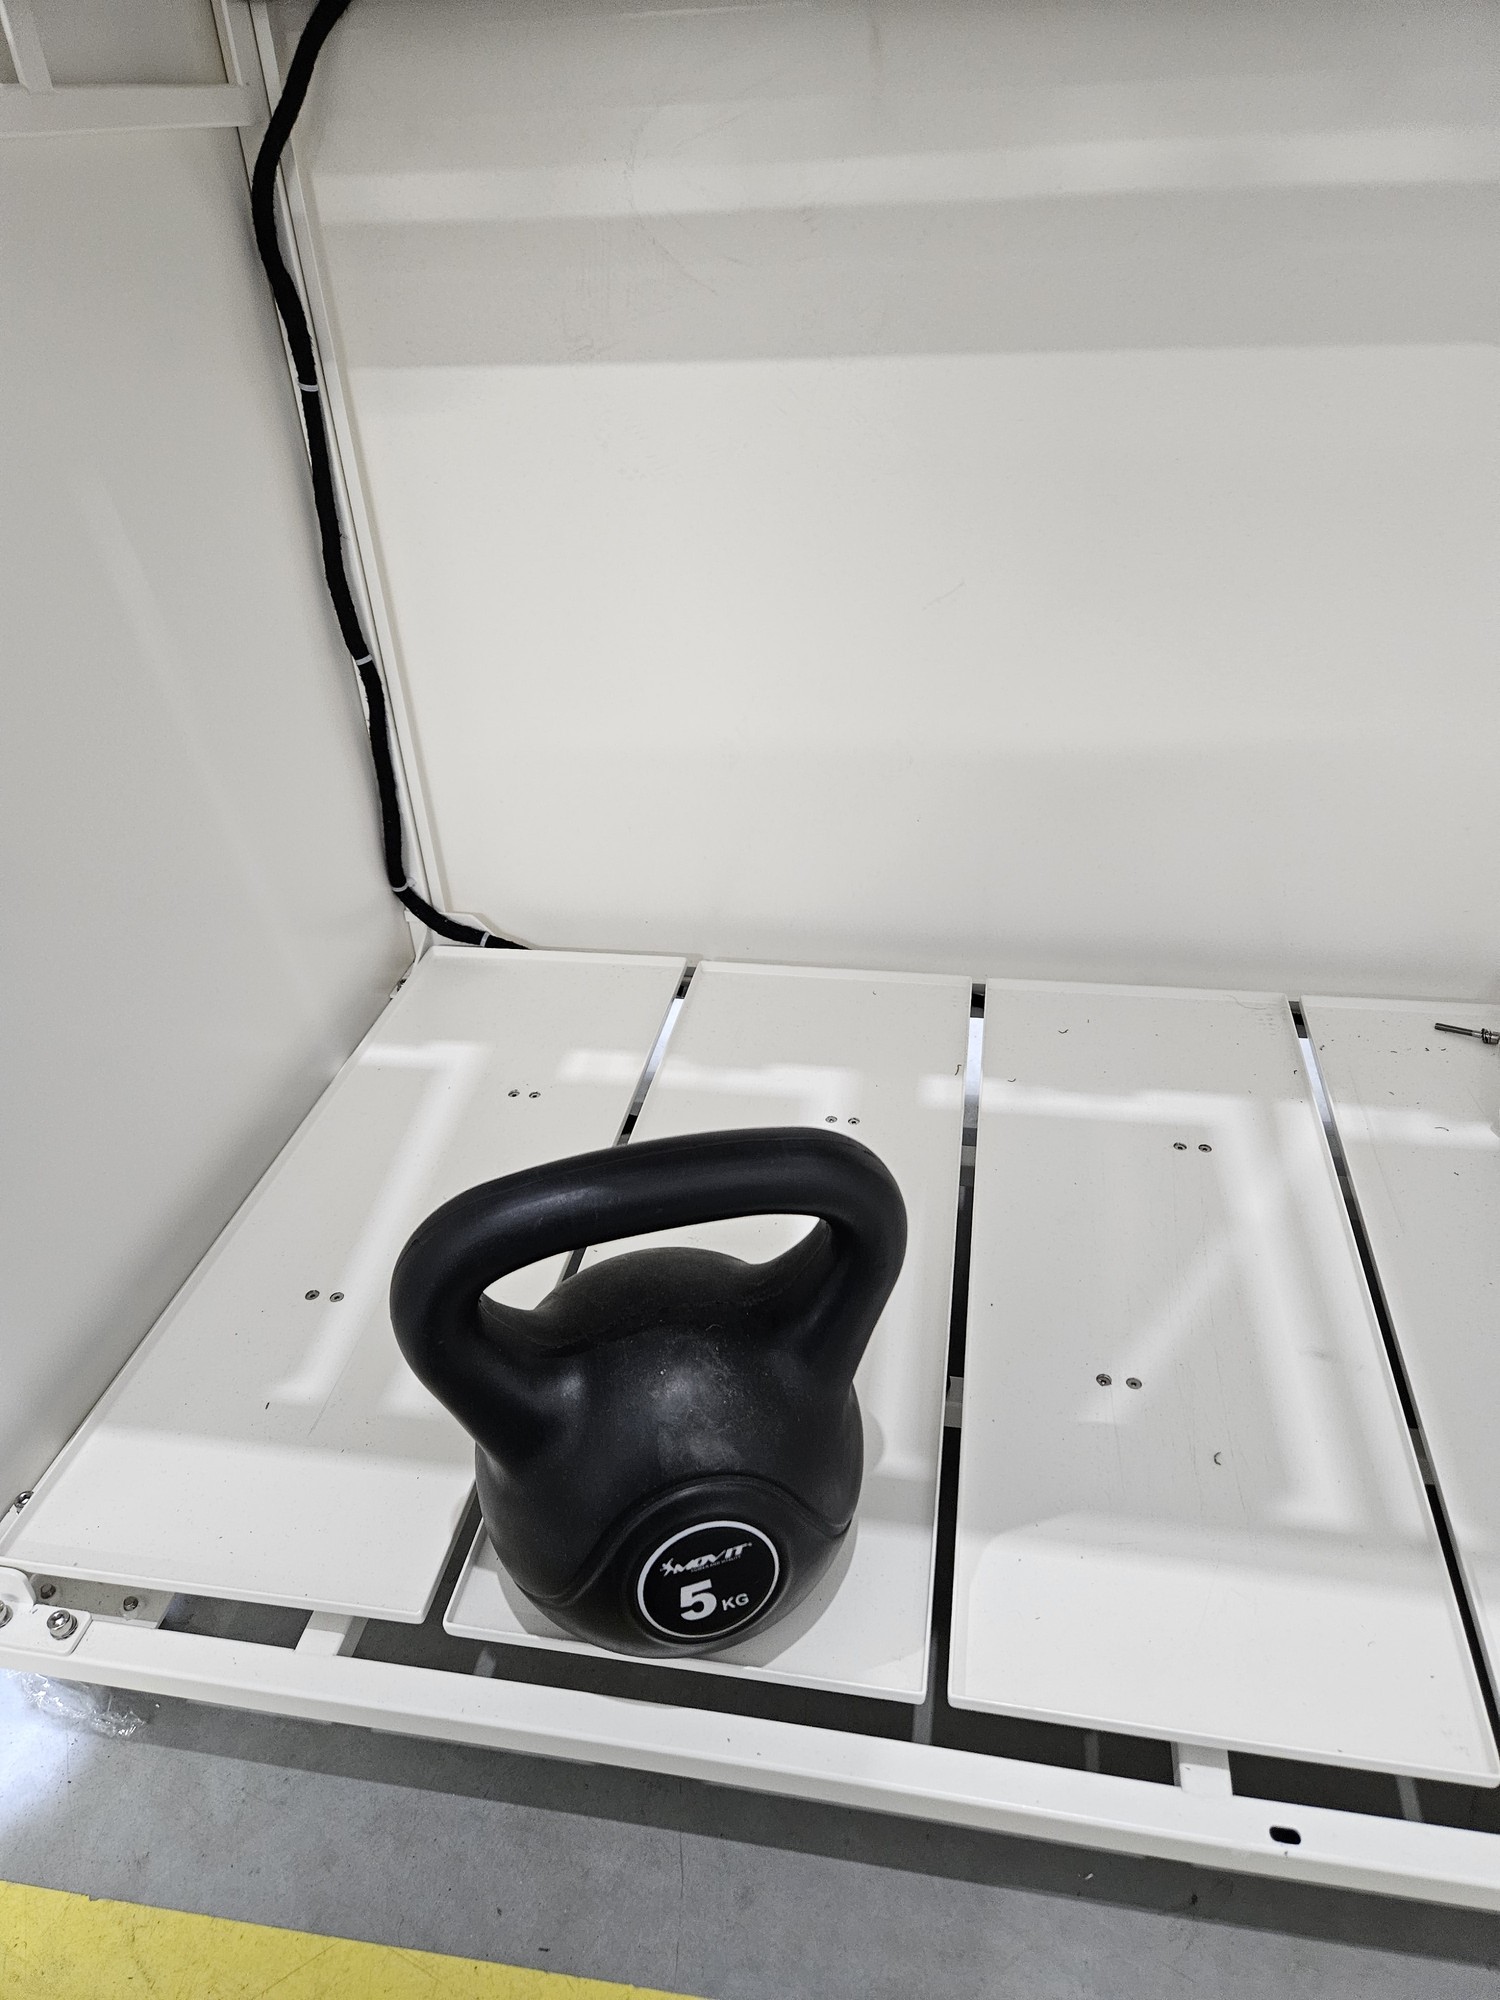
Step 9 Wieght calibration
Full calibration is required after load cell replacement. THIS IS A DIFFERENT CALIBRATION THAN ZERO CALIBRATION FROM THE MENU. Right now there is no possible full calibration from user menu.
Calibration consists of 4 stages1. empty beam2. load placed at the back3. load placed in the middle4. load placed at the front
 | |
 | |
 | |
 |
Back to top